![SCANIFLY-LOGO-Color-2022.jpg]](https://help.scanifly.com/hs-fs/hubfs/SCANIFLY-LOGO-Color-2022.jpg?height=40&name=SCANIFLY-LOGO-Color-2022.jpg)
What is a checklist?
Checklists are a way to organize data that is collected in the field. During a given site survey, you may need to collect data from the roof, attic space, electrical equipment, and many other various places from site to site. In order to make sure that you don't forget to collect any data, and that it all stays organized, checklists are implemented. For more information on a basic site survey checklist, look at our existing checklist template which is not editable, but covers many use cases.
Why Editable?
Editable Checklists gives you the ability to create a form that can match your exact workflow, creating very little turbulence when transitioning from your current data collection methods.
How do I get started?
You need to have an admin account in Scanifly in order to access the Checklist Manager. If you are an admin, take the following steps.
- Click on your name in upper right hand corner and select Settings.
- Click Company Settings, scroll down to Checklist Manager, and Click Manage.
- Click New Checklist.
Once you have created your Checklist, hit the Edit icon next to it and you should see this screen.
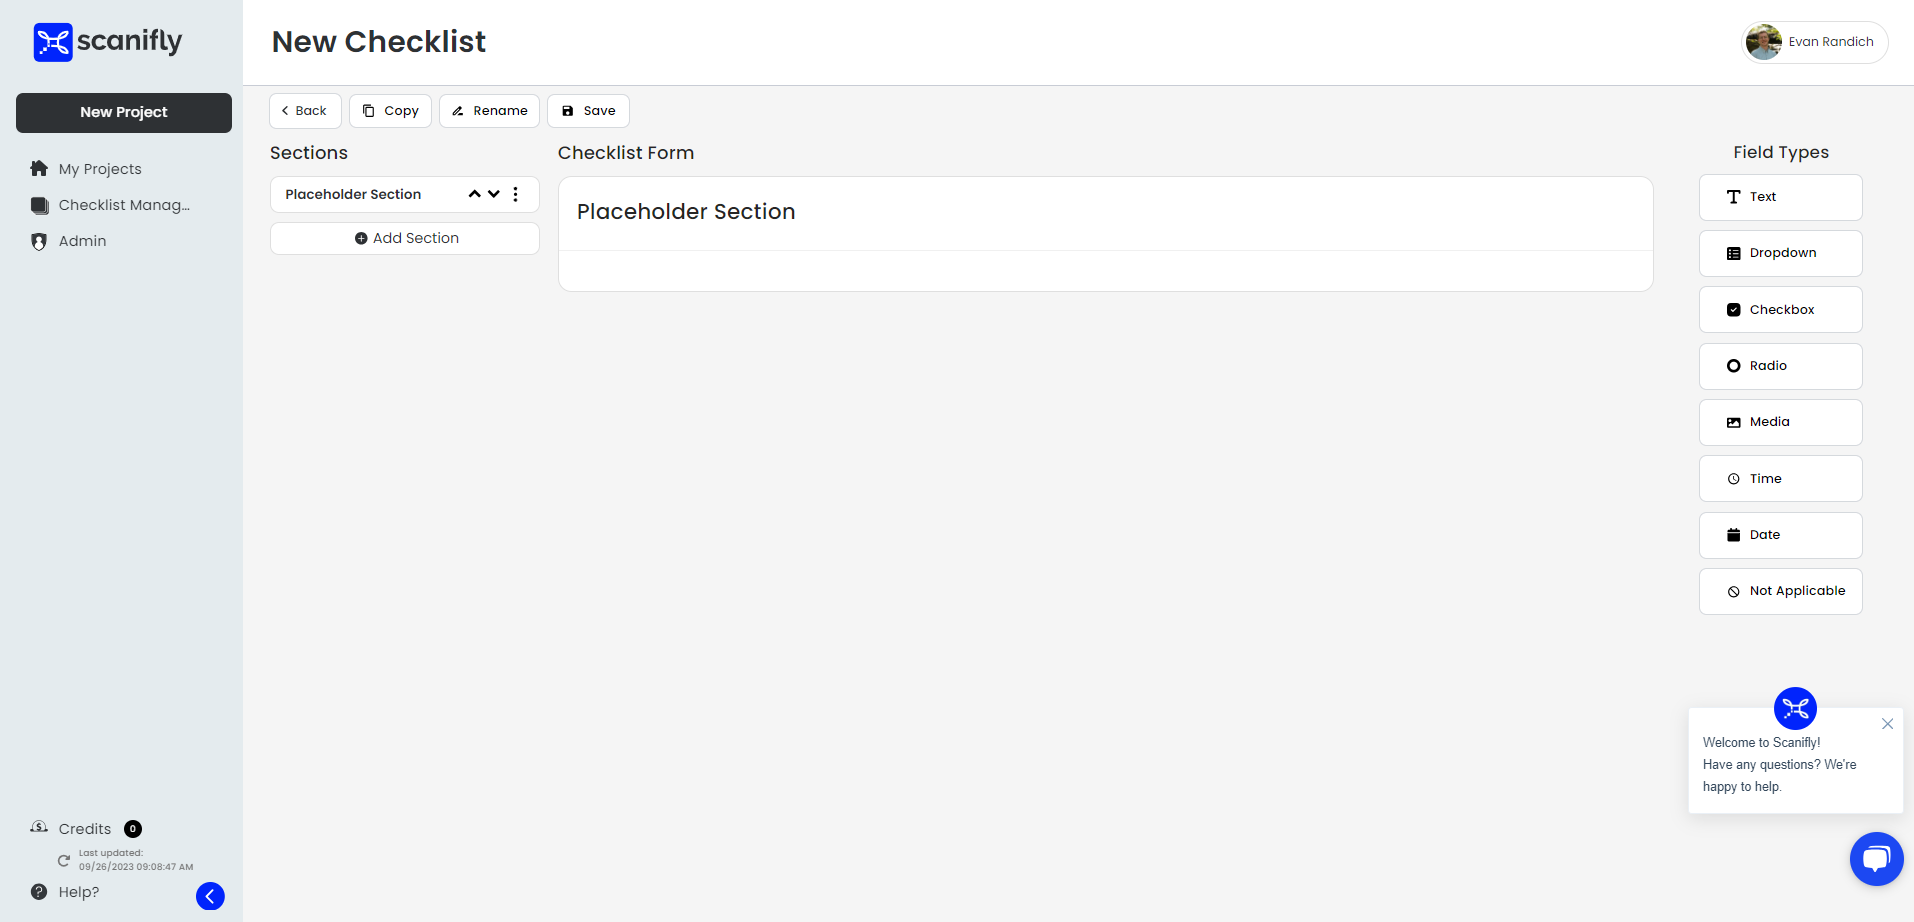
Field Types
Add Fields to your checklist by clicking them on the right hand menu. When you click one, it will populate in your form. Once it is in your form, click the blue Edit button to make changes to it according to your needs. Once you are done editing it, click save.
- Text - Enter info with a high level of variability from project-to-project.

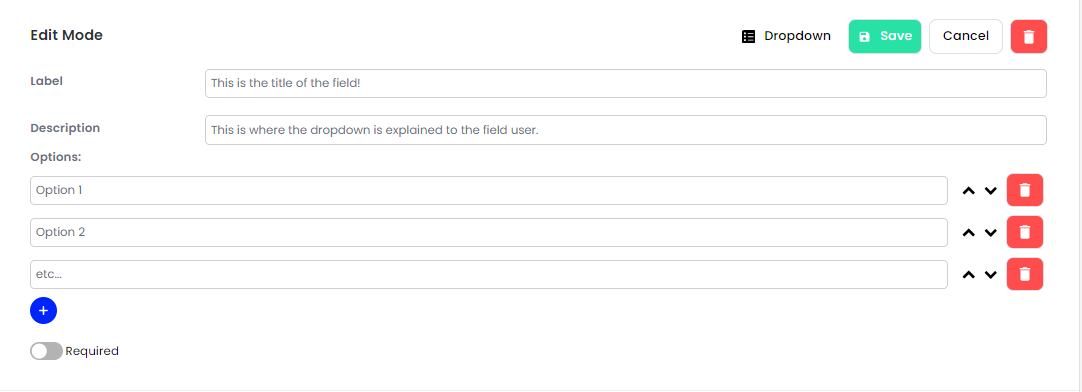
- Dropdown - Select one item from a collapsible list of options.
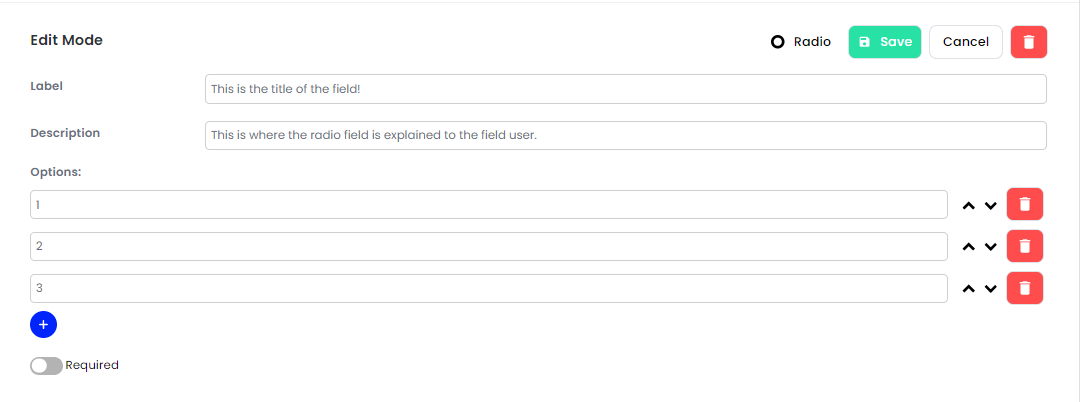
- Radio Button - Select one option from a visible list.
- Checkbox (Single Select) - Quickly answer Yes/No questions

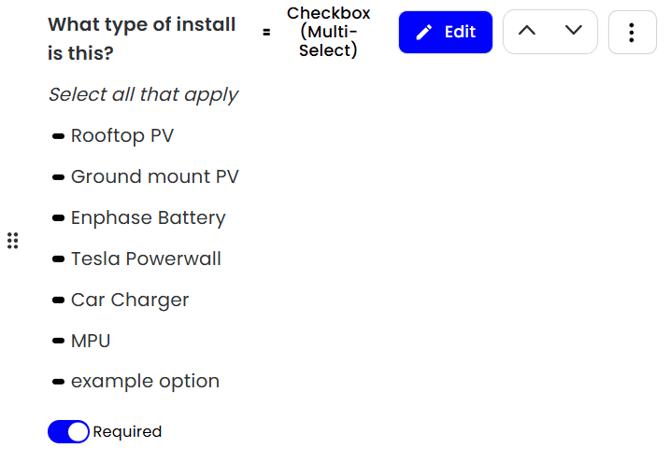
- Checkbox (Multi-Select) - Select all answers that apply from a list
- Media - Capture, or retrieve one or more photos from your device's library.

- Date - Select the date of the visit you are doing. The default choice for the field user will be the date that the visit is happening.
- Time - Select the time of the visit you are doing. The default choice for the field user will be whatever time it is when the surveyor selects the field.
- Not Applicable - This field allows the user filling out the checklist to completely ignore all of the fields in a given section. For example, if your Site Survey form has a section for ground mounts, but the survey is for a roof mount, the user could check the Not Applicable option and still be able to export all of their site data without having any Ground Mount fields answered.
- Reference - This media field allows field operators to quickly select and edit an image that is important for a piece of data collection on site.
- Structural - These reference images show different attic structures in basic line form. Users can select the exact one they need and mark it up to show dimensions, or any other stickers/notes that are relevant.
- Other albums - Users will have the ability to grab any images in their albums to use as a reference image. One of the more valuable reference images to grab is the top down satellite image of the site. If a remote design has been completed in the project, the top down image will include the system that was designed as well.
- Project Design Detail - Text field with pre-population options for different design specifics from the project's existing design.
If you need to move around fields within sections, complete any edits you are doing and then drag and drop them as needed. This is also possible with Sections.

Required
When making any field in your checklist, you will have the option to make it required. What this means, is that the field user will have to successfully fill out the field in order to close out the checklist. If any required field data is not entered, then the ability to submit the checklist for exporting will not be available.
Pre-populate Fields
Pre-populating fields is a great way to save time when the data is already available. For regular Text fields, you can pre-populate with variables from the Customer Info page as well as from Salesforce. In the Project Design Details field, you can prepopulate information from an existing design in the project you are in. If you have multiple designs to choose from, you will be asked which one to pick before entering the checklist.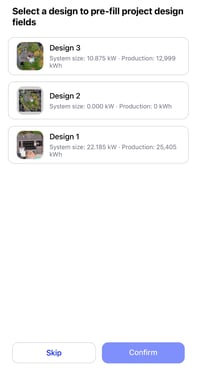
Need to Skip a question?
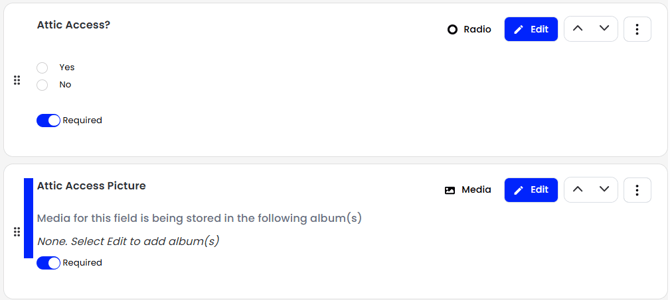
Conditional formatting is a great way to make sure that all of the questions you need answered can stay required, while still giving the field user the option to not answer. Simply set up a Yes/No question, and then have the question that you need answered be conditional based on the answer to that question. In the example below, the user will only get the attic access picture question if they answer yes to there being attic access.
For any questions or assistance needed with building out custom checklists, please reach out to hello@scanifly.com or reach out to our chat service between 9AM-9PM EST Monday-Friday.