What is a checklist?
Checklists are a way to organize data that is collected in the field. During a given site survey, you may need to collect data from the roof, attic space, electrical equipment, and many other various places from site to site. In order to make sure that you don't forget to collect any data, and that it all stays organized, checklists are implemented. For more information on a basic site survey checklist, look at our existing checklist template which is not editable, but covers many use cases.
Why Editable?
Editable Checklists gives you the ability to create a form that can match your exact workflow, creating very little turbulence when transitioning from your current data collection methods.
How do I get started?
You need to have an admin account in Scanifly in order to access the Checklist Manager. If you are an admin, take the following steps.
- Click on your name in upper right hand corner and select Settings.
- Click Company Settings, scroll down to Checklist Manager, and Click Manage.
- Click New Checklist.
Once you have created your Checklist, hit the Edit icon next to it and you should see this screen.
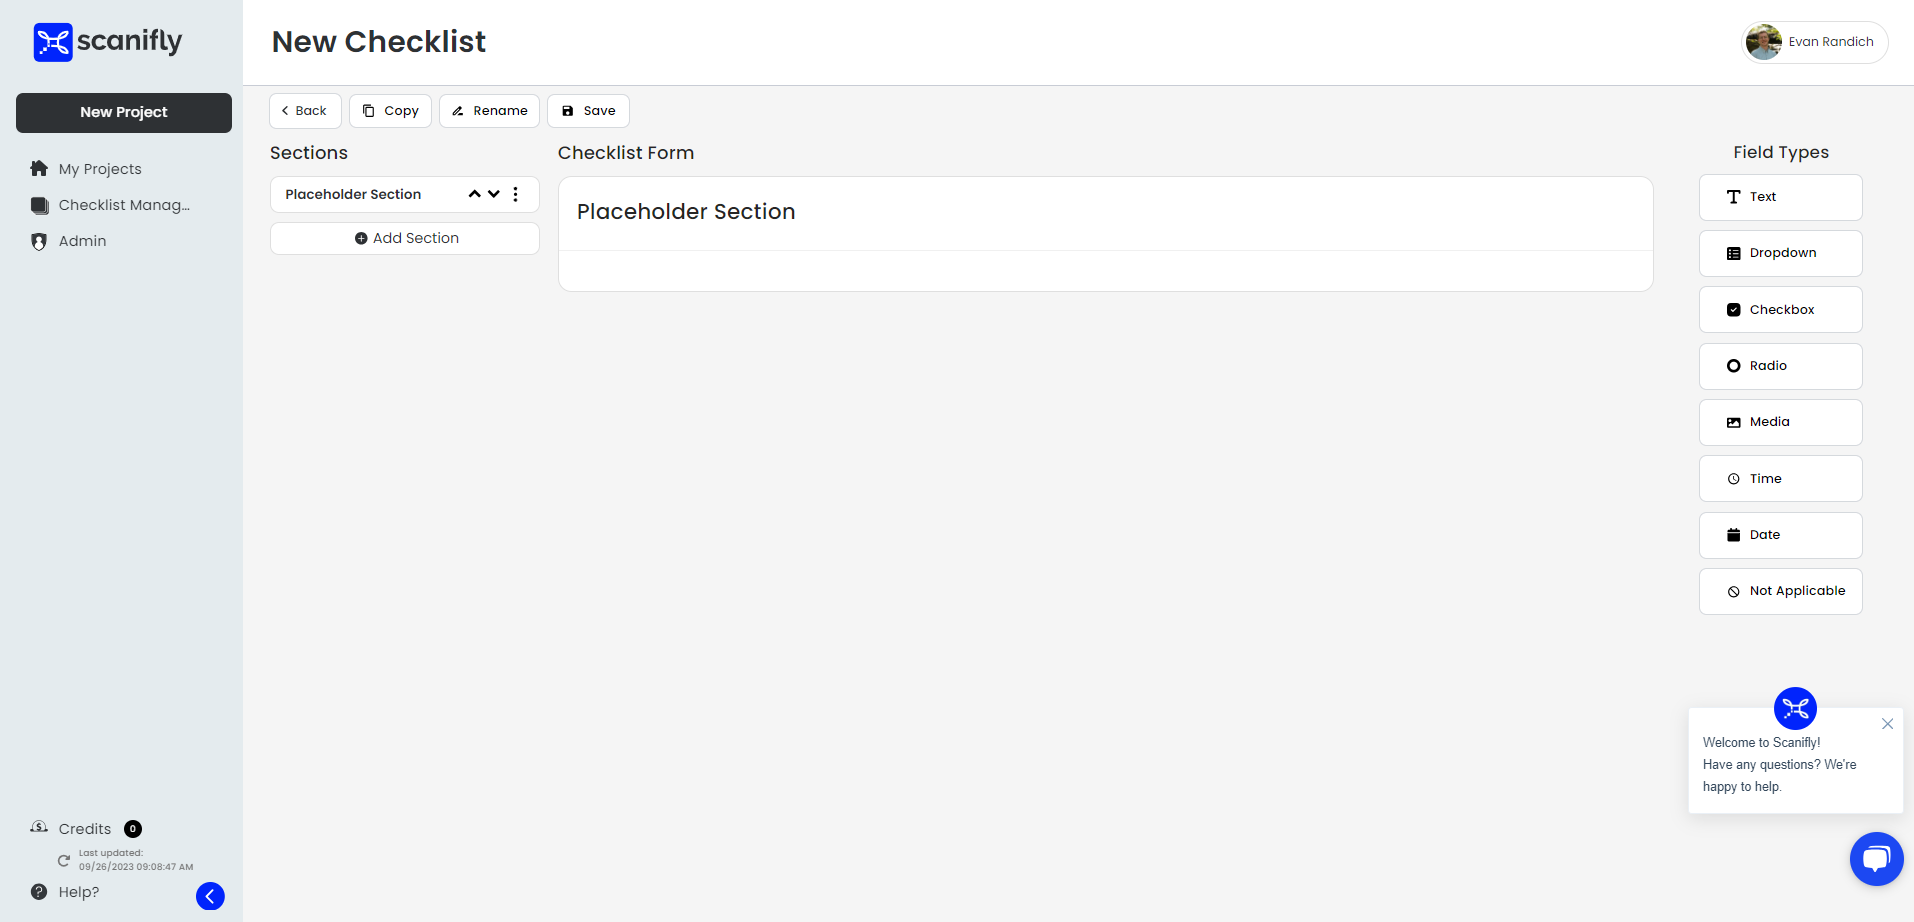
Field Types
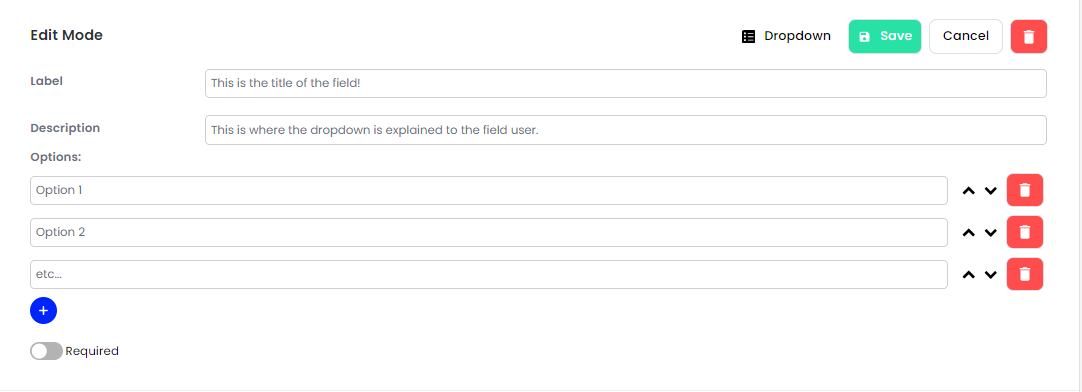
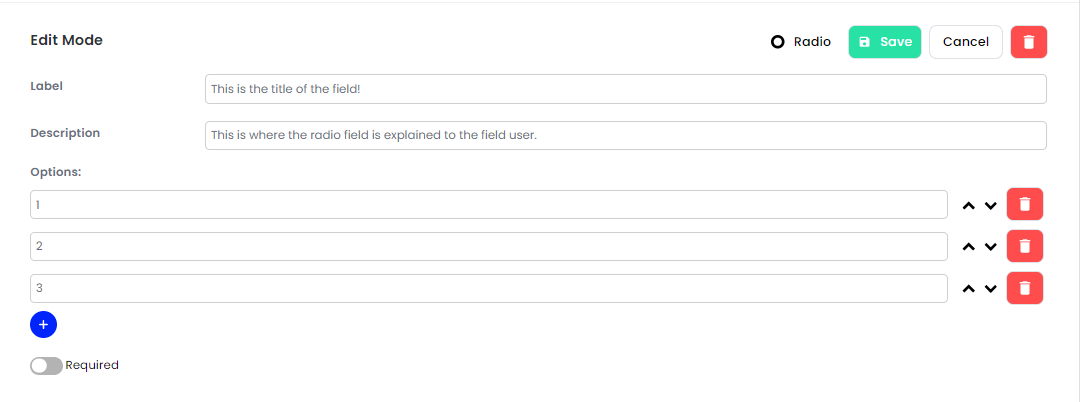
Add Fields to your checklist by clicking them on the right hand menu. When you click one, it will populate in your form. Once it is in your form, click the blue Edit button to make changes to it according to your needs. Once you are done editing it, click save.
- Text - Enter info with a high level of variability from project-to-project.

- Dropdown - Select one item from a collapsible list of options.
- Radio Button - Select one option from a visible list.
- Checkbox (Single Select) - Quickly answer Yes/No questions

- Checkbox (Multi-Select) - Select all answers that apply from a list

- Media - Capture, or retrieve one or more photos from your device's library.

- Date - Select the date of the visit you are doing. The default choice for the field user will be the date that the visit is happening.
- Time - Select the time of the visit you are doing. The default choice for the field user will be whatever time it is when the surveyor selects the field.
- Not Applicable - This field allows the user filling out the checklist to completely ignore all of the fields in a given section. For example, if your Site Survey form has a section for ground mounts, but the survey is for a roof mount, the user could check the Not Applicable option and still be able to export all of their site data without having any Ground Mount fields answered.
If you need to move around fields within sections, complete any edits you are doing and then drag and drop them as needed. This is also possible with Sections.

Required
When making any field in your checklist, you will have the option to make it required. What this means, is that the field user will have to successfully fill out the field in order to close out the checklist. If any required field data is not entered, then the ability to submit the checklist for exporting will not be available.
Once you have saved your new checklist template, it will be viewable by the surveyor from their mobile app.