Skip to content
English
  • There are no suggestions because the search field is empty.

Generate, Preview, and Save a Proposal

### Scanifly Proposal Tool
* Generating and Sharing
    * Generate, Preview, and Save a Proposal

##### Generating and Sharing
### Generate, Preview, and Save a Proposal
#### Turn the proposal you built in the editor into a finished document you can present to your customer, save to the project, and send.

You can generate a proposal at any point while you work in the editor, so you do not have to finish every section first. Generating is how you check your work as you go.

---

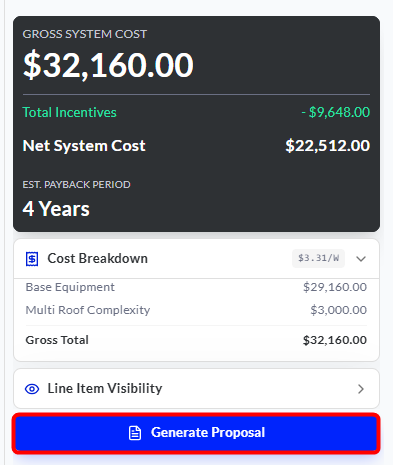
##### 1. Click Generate in the Editor

From the editor, click **Generate**. You can do this at any point, as often as you like, and your adjustments carry into the generated proposal.

[Image: Screenshot of the Proposal Tool editor with the Generate button highlighted]

---

##### 2. Choose Portrait or Landscape

Pick the orientation you want for this proposal. Both versions contain the same information in a different layout.
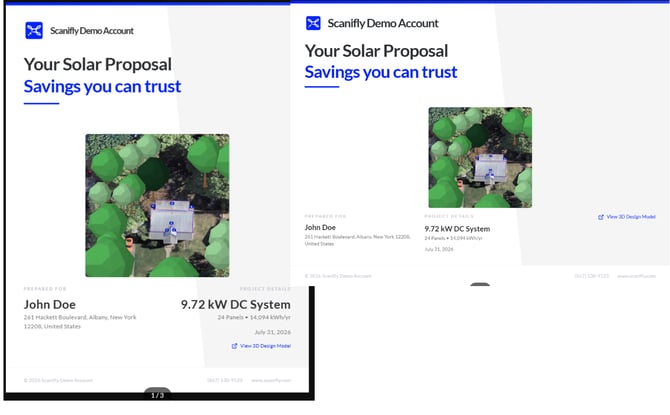
[Image: Screenshot of the portrait and landscape options side by side]

---

##### 3. Use Present Mode for a Clean Customer-Facing View

Click **Present** to open the proposal in a full, clean view with the editor controls out of the way. Use this when you are walking a customer through the proposal on screen.
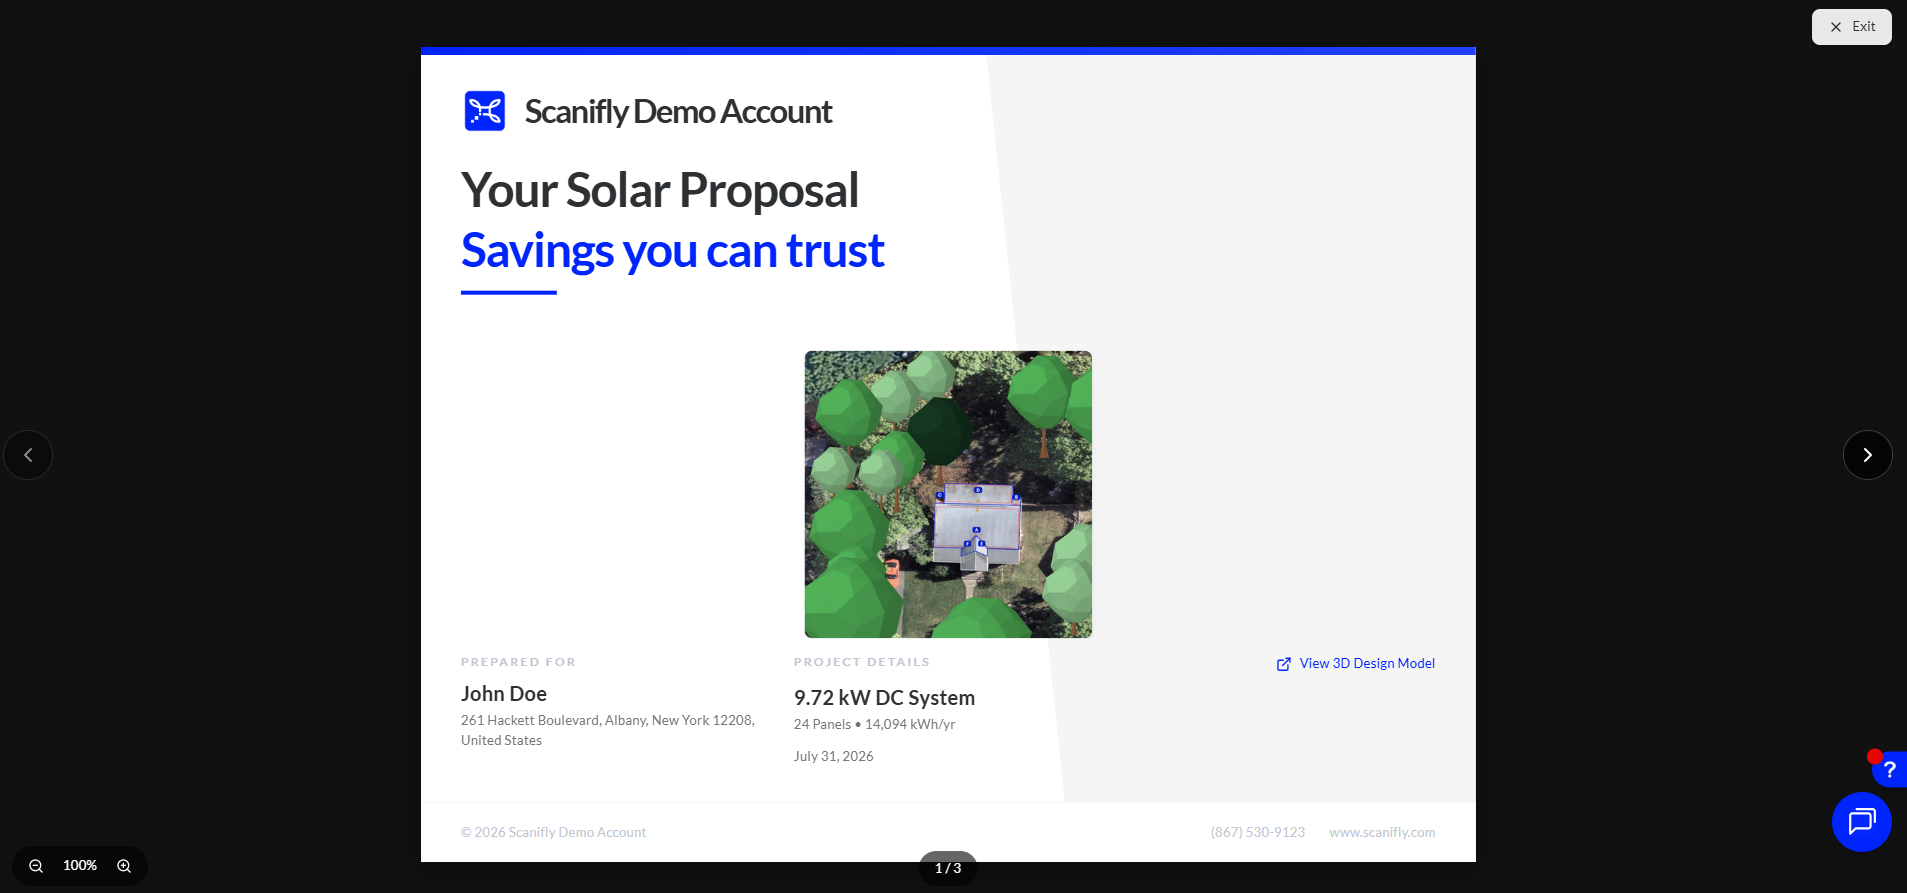
[Image: Screenshot of a generated proposal in Present mode]

---

##### 4. Save the Proposal to the Project's Proposal Album

Save the generated proposal so it lands in the proposal album for that project. Saved proposals stay with the project, so you can return to them later.
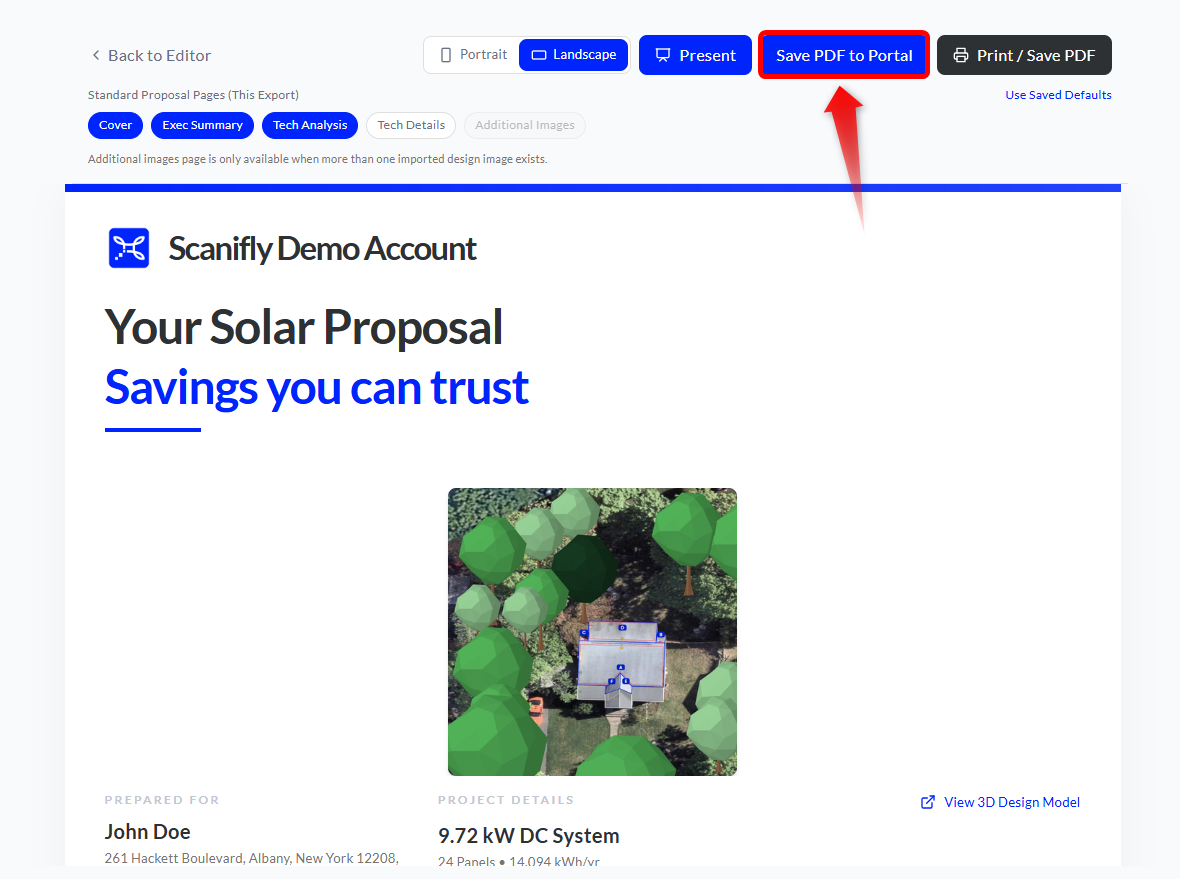
[Image: Screenshot of the save control with the project proposal album highlighted]

---

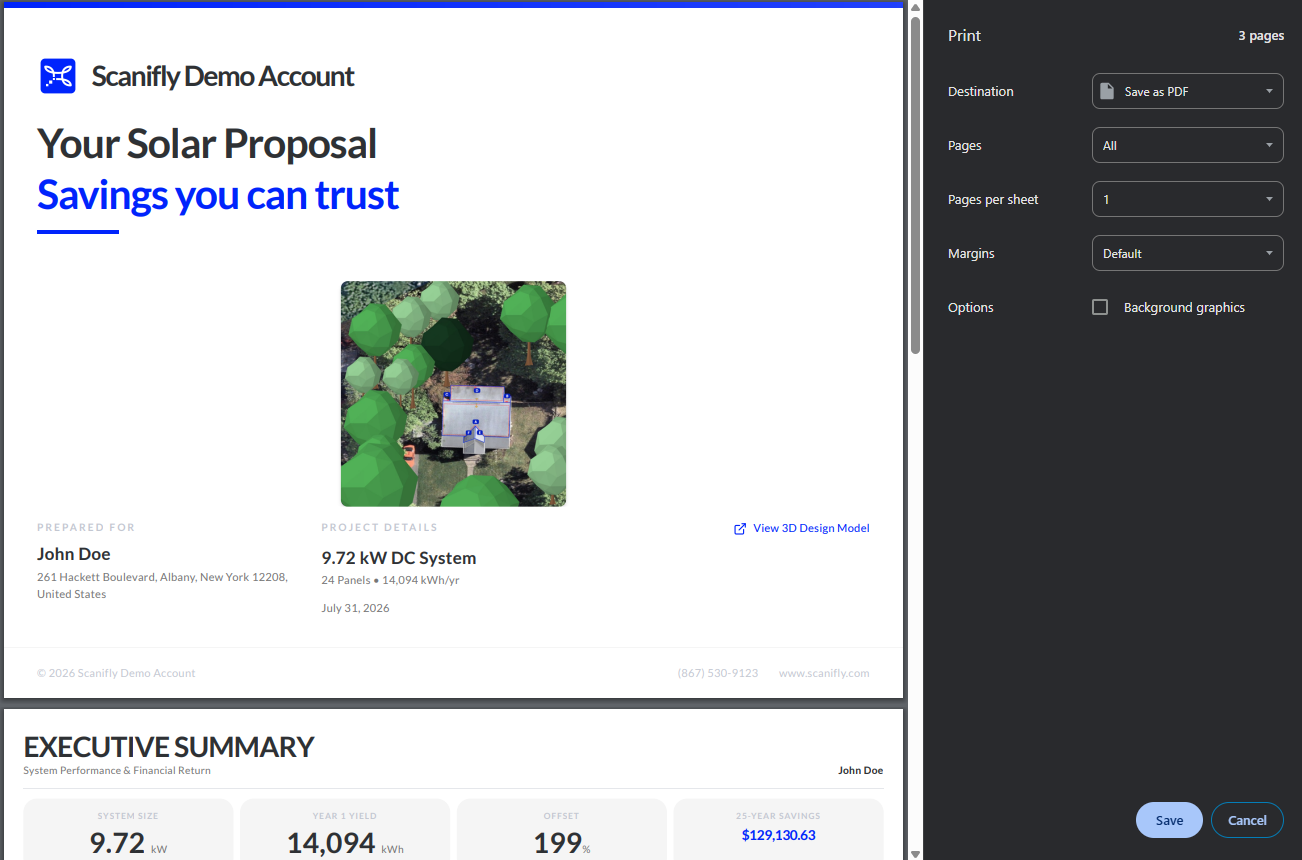
##### 5. Print or Save a PDF

Use the print option to print the proposal or save it down as a PDF. This is the file you send to your customer.
[Image: Screenshot of the print and save options on a generated proposal]

📘 **Pro Tip:**
Before you send, scan the proposal for any field reading "Not provided". Blank inputs print that way on the customer-facing pages, so a field you skipped in the editor shows up as a visible gap for your customer.

---

##### 6. Toggle Individual Pages Off, or Use Saved Defaults

Turn any page off for this proposal, so you send only the pages you want. Select **Use Saved Defaults** to fall back to the page selection your admin set in global settings. Turning a page off adjusts the page count, so a four page export is normal.

[Image: GIF showing generate, then Present mode, then toggling individual pages off]

---

❗**IMPORTANT**
The Cover page includes a **View 3D Design Model** link that opens without a login. Anyone you send the proposal to can click it and view the design. Know this before your first send.

---

For more information on Share the 3D Design Model From a Proposal, please see this support article: [link placeholder].

For more information on What's Included in the Standard Proposal, please see this support article: [link placeholder].

For more information on Company Details, Branding, and Default Proposal Controls, please see this support article: [link placeholder].

For more information on Control What Your Team Sees: Section and Line Item Visibility, please see this support article: [link placeholder].

If you have any questions or need further assistance, please reach out to our chat support or email hello@scanifly.com.

---

## Draft Notes
*Not part of the published article.*

**Screenshot/GIF capture list:**
1. [Image: Screenshot of the Proposal Tool editor with the Generate button highlighted]
2. [Image: Screenshot of the portrait and landscape options side by side]
3. [Image: Screenshot of a generated proposal in Present mode]
4. [Image: Screenshot of the save control with the project proposal album highlighted]
5. [Image: Screenshot of the print and save options on a generated proposal]
6. [Image: GIF showing generate, then Present mode, then toggling individual pages off]

**Needs clarification:**
- None blocking. Step order follows the C1 outline exactly, including page toggles landing at step 6 after saving and printing. If the in-product order actually puts page toggles before save and print, steps 4 through 6 should be resequenced at review.
- The exact in-product label for Present mode was taken from the walkthrough ("you can present it"). Confirm the button label before publishing.

**Terminology note:**
- The cross-link to D3 uses that article's title, "Company Details, Branding, and Default Proposal Controls." "Default Proposal Controls" is the in-product settings section label, not a reference to the standard proposal. This article never calls the standard proposal a "default proposal."

**Suggested cross-references:**
- C2 (What's Included in the Standard Proposal) should link here as the step that produces the pages it describes.
- C6 (Share the 3D Design Model From a Proposal) should link back here.
- B3 (The Proposal Editor: What Each Section Does) should link here for generate and preview.
- A2 (Two Ways to Open the Proposal Tool) connects here through the proposals dashboard.
- D3 and D4 should link here, since both control what a generated proposal shows.

**Product note, not a doc problem:**
- Per the plan, a validation warning before generate would prevent reps sending proposals with visible "Not provided" gaps. The Pro Tip in step 5 is a documentation workaround for that.