Want better trees? Check out our NEW and IMPROVED Tree Layer Tool
There are many times where a 3D model you're designing on may be lacking in detail about trees around the planned PV array. Not having this detail can skew your shade analysis and may show better than real values.
Dormant deciduous trees from a winter site assessment or maybe drone imagery not fully capturing a tree can cause pause about designing on a 3D model. Instead of having to re-fly a site or delay for a certain time of year, importing trees into your model is a great solution.
To import one or more trees into your 3D model, follow the steps below.
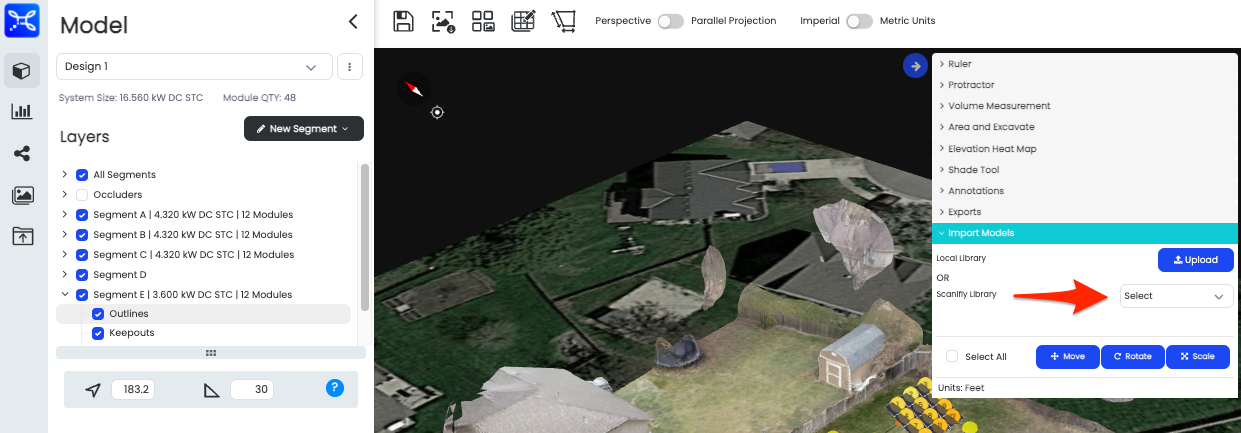
1. Click the dropdown next to Scanifly Library
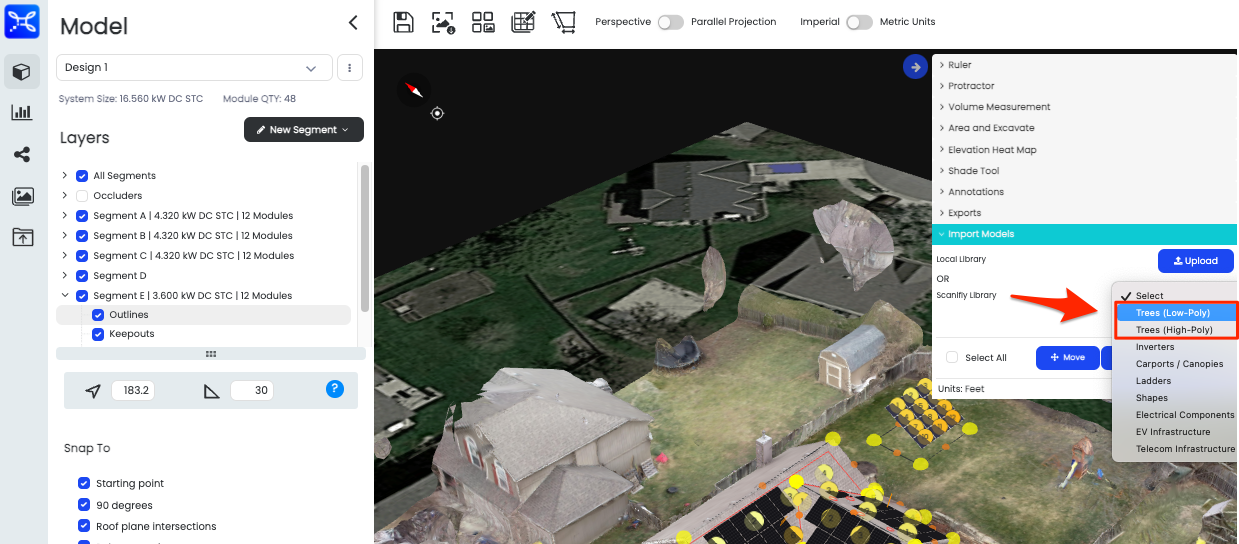
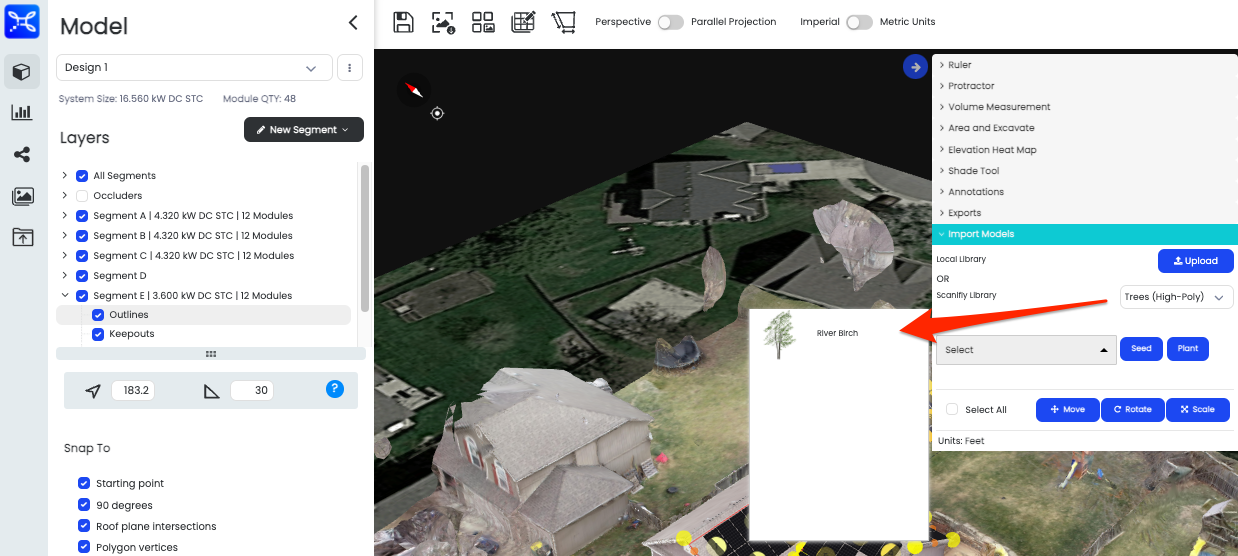
2. Choose from Low-Poly or High-Poly Tree Models
- Low-Poly - Less realistic
- High-Poly - More realistic
High-poly Trees Decrease Performance
High-Poly tree models can cause decreased speeds when working in the 3D space. We recommend using low-poly tree models for the most efficient experience.
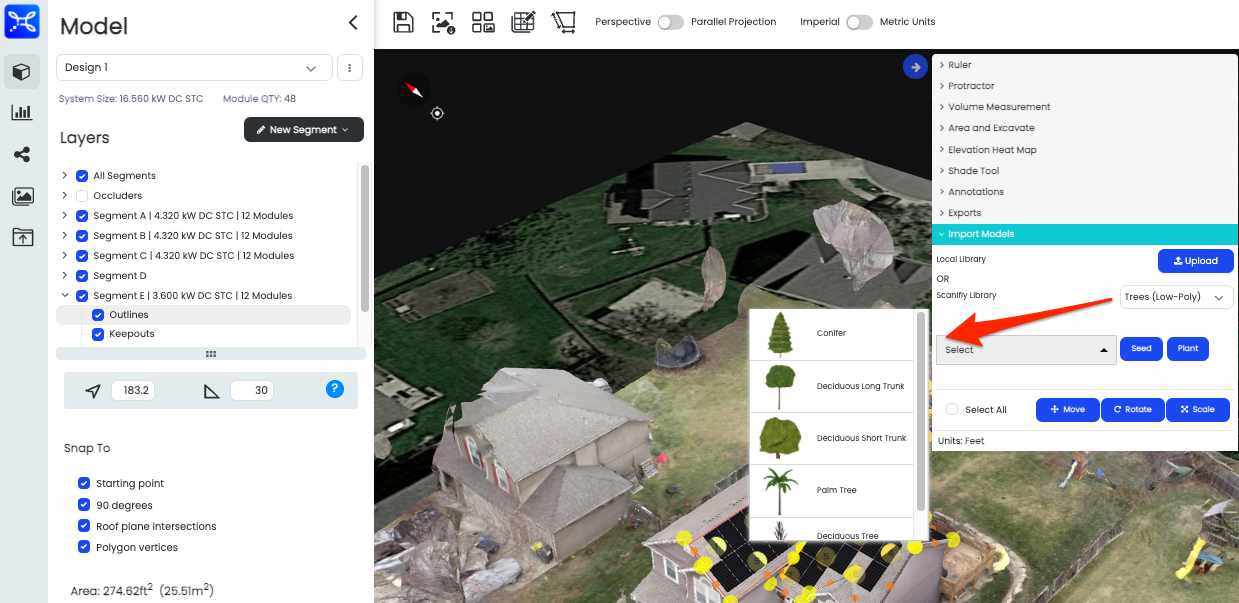
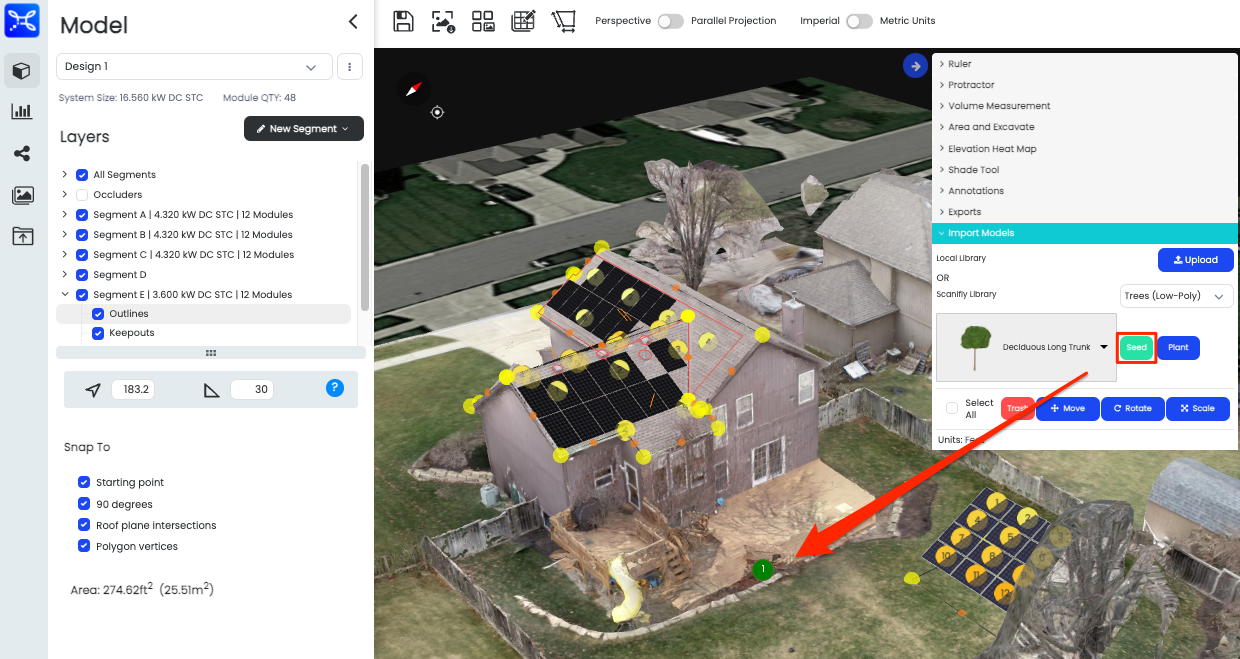
3. Select the Tree Model, then Click Seed
By clicking Seed, you can now manipulate your model and left-click where you want your tree to go.
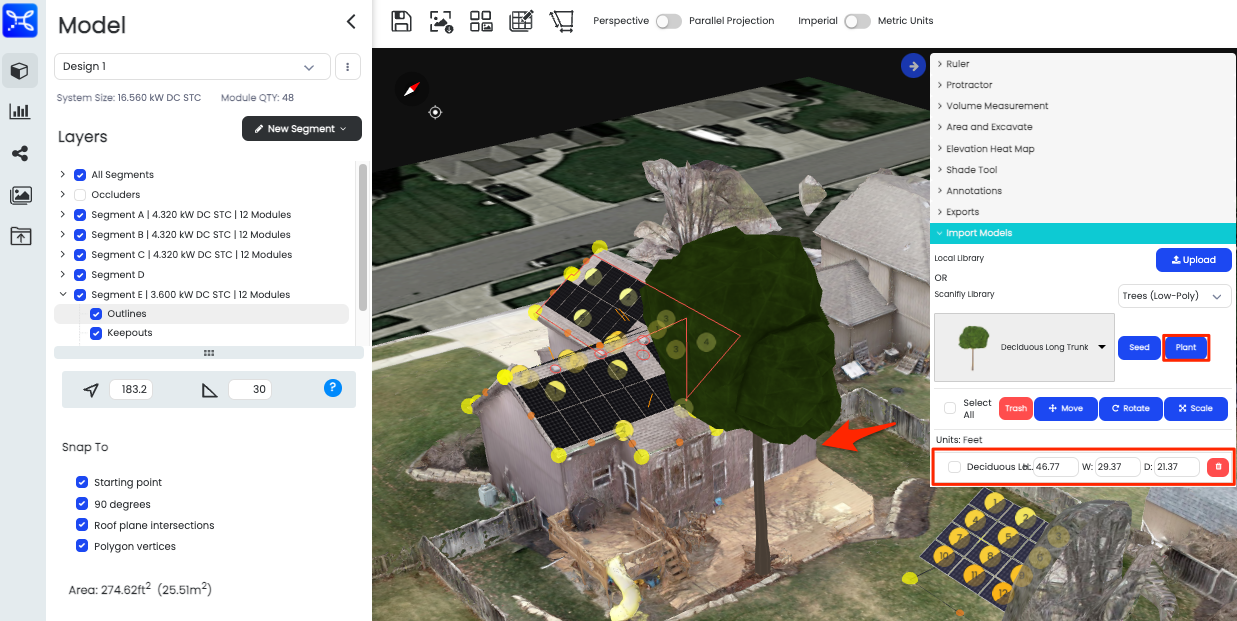
4. Click Plant to Generate the Tree Model
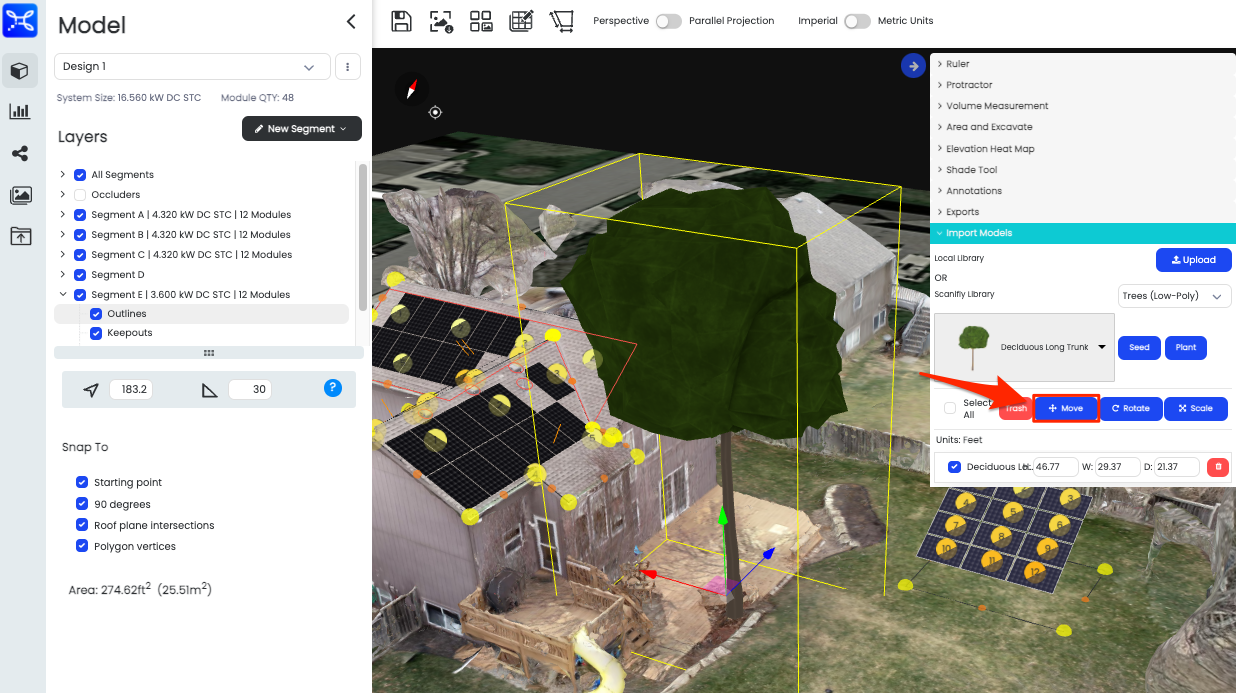
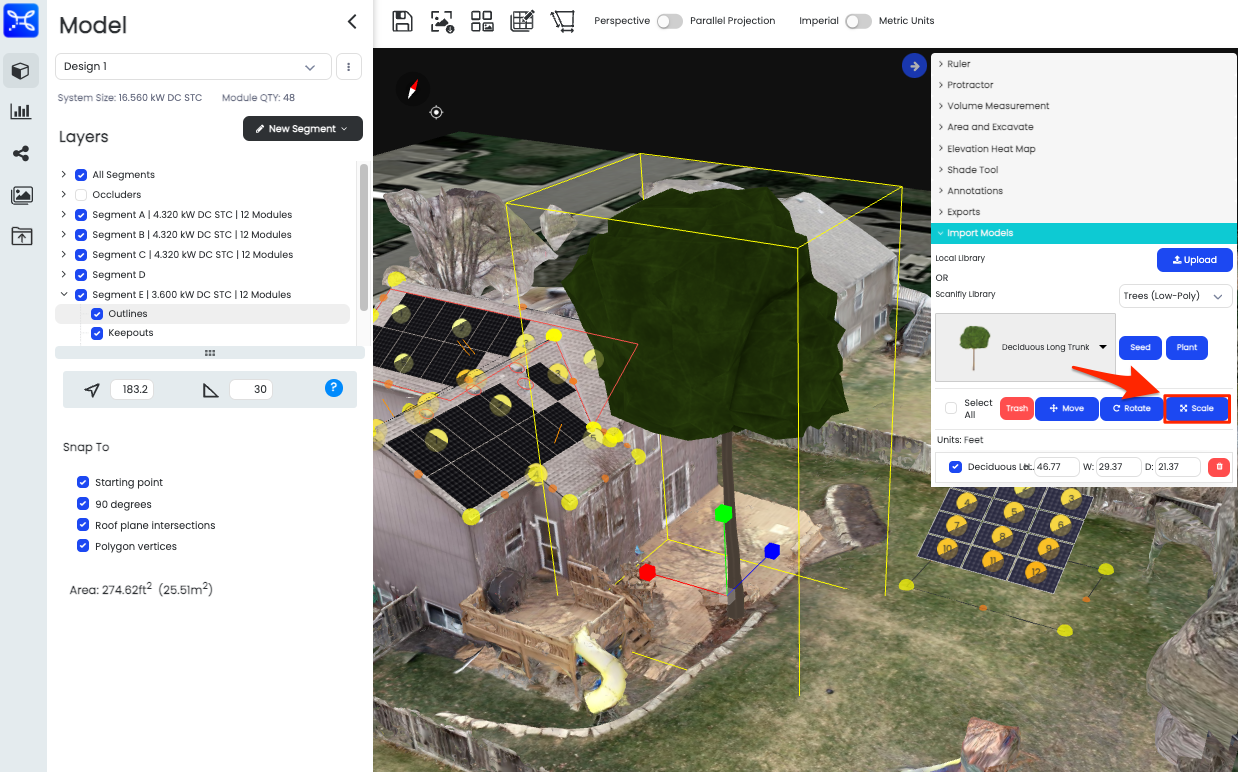
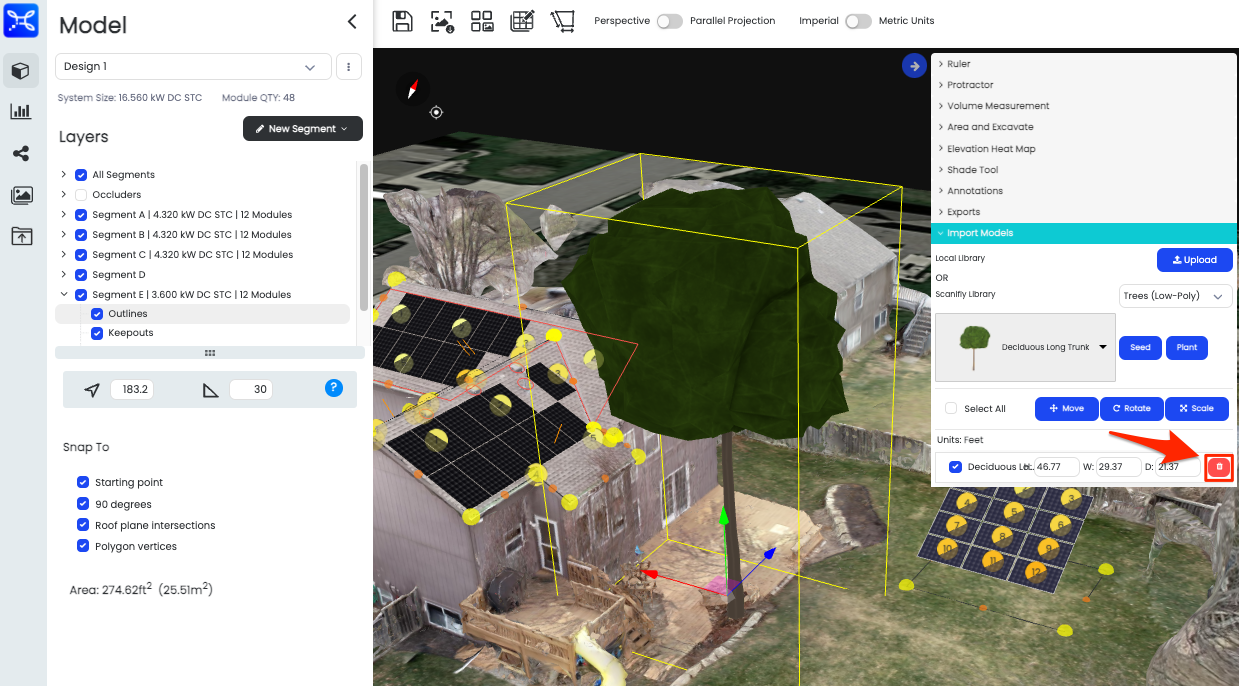
5. Move, Rotate, Scale or Remove
Move - Adjust the placement of the tree model on the X, Y and Z axis.
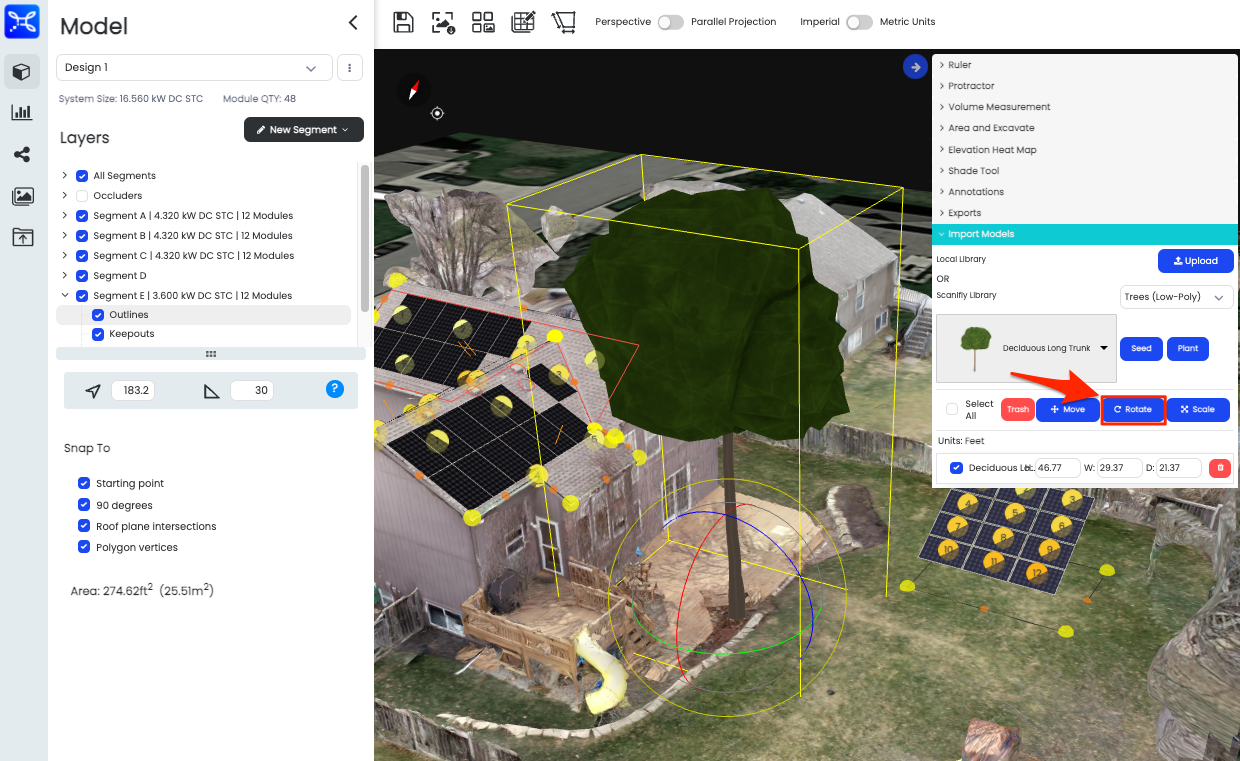
Rotate - Rotate the tree model on the X, Y and Z axis.
Scale - Scale the tree model larger or smaller on the X, Y and Z axis.
Remove - Remove the tree model from the 3D space by clicking the trash can icon.
6. Add Viewsheds and Assess Shade Impact
Important!
If you have already placed viewsheds prior to importing a tree model, you will need to refresh them to account for the new trees in the model.