Create a New Project
- Go to the Scanifly website and log in to your account.
- Click on the "New Project" button.
- Enter a name for your project and select the "Remote Design" option.
- Click on the "Create Project" button.
Adjust the Reference Layers
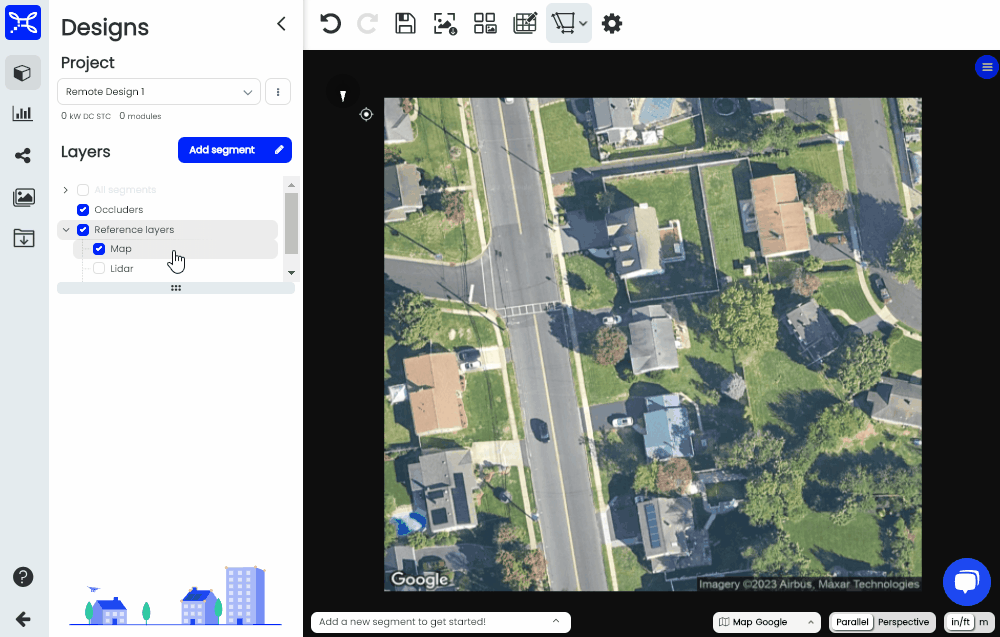
- Click on the "Reference Layer " dropdown, and select the "Map" menu.
- Select the Map source dropdown within the Map menu to get different image dates.
- You can also adjust the zoom and location of the Map layer by clicking on the pin and navigating the map popup.
- By now, the LiDAR should be loaded up for the project. Make adjustments to have it line up with the Map layer better.
- For more information on Reference layers, please see this support doc: https://help.scanifly.com/reference-layers
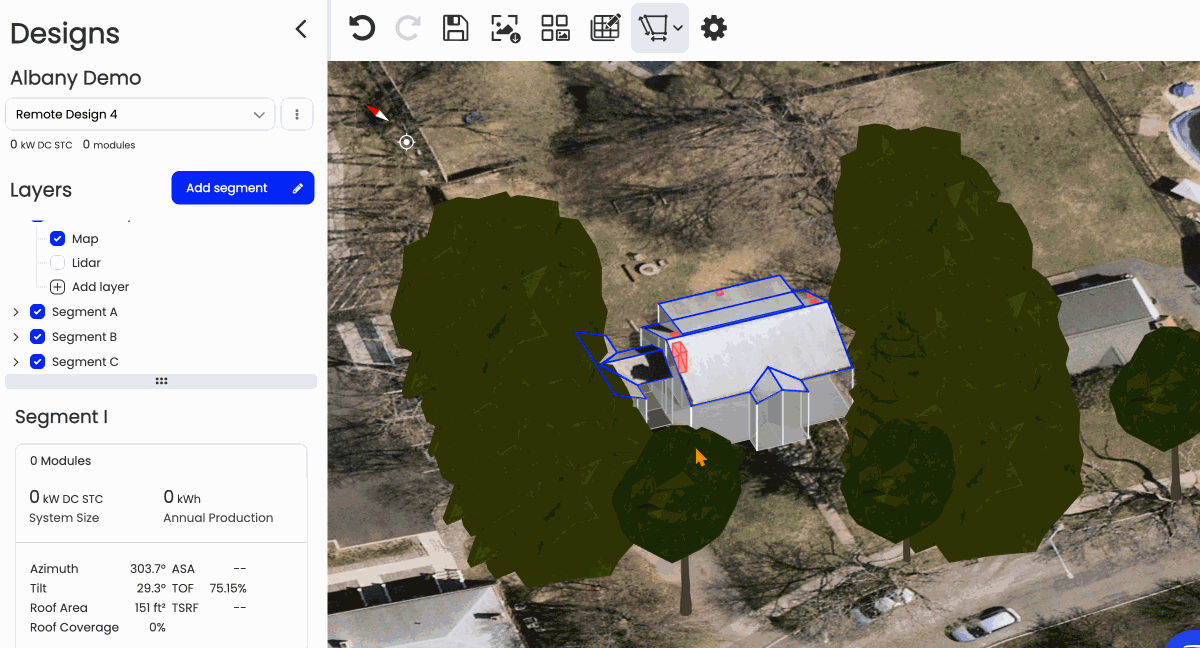
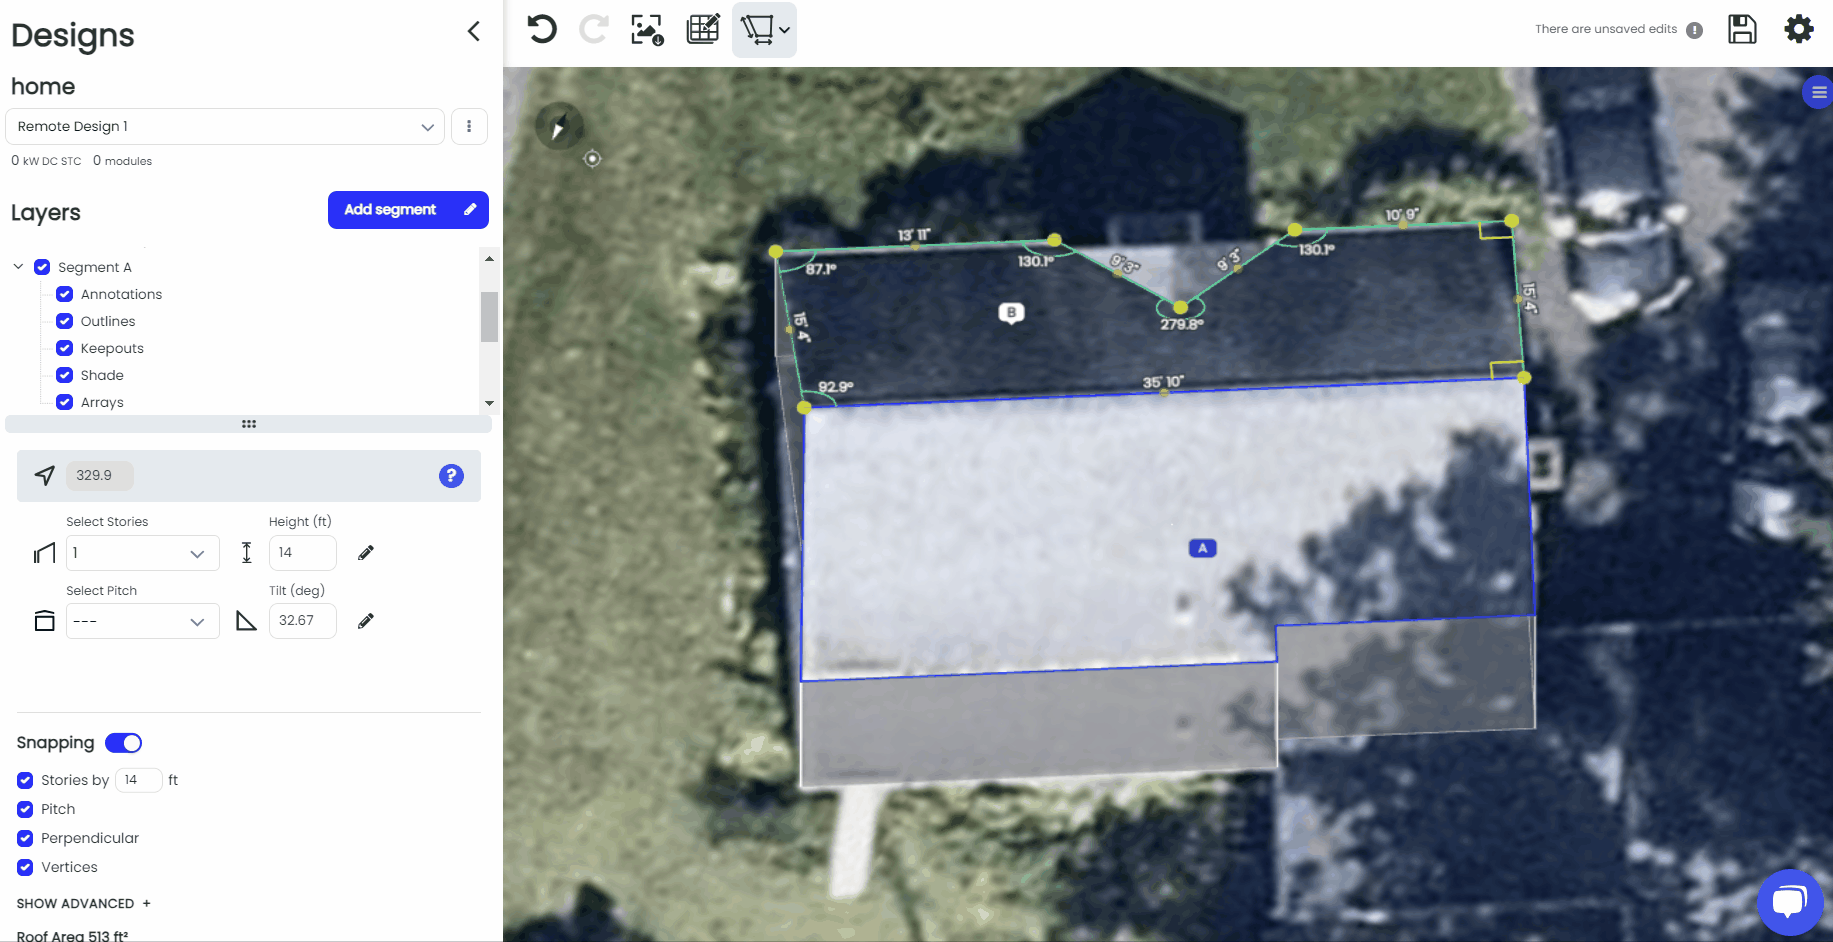
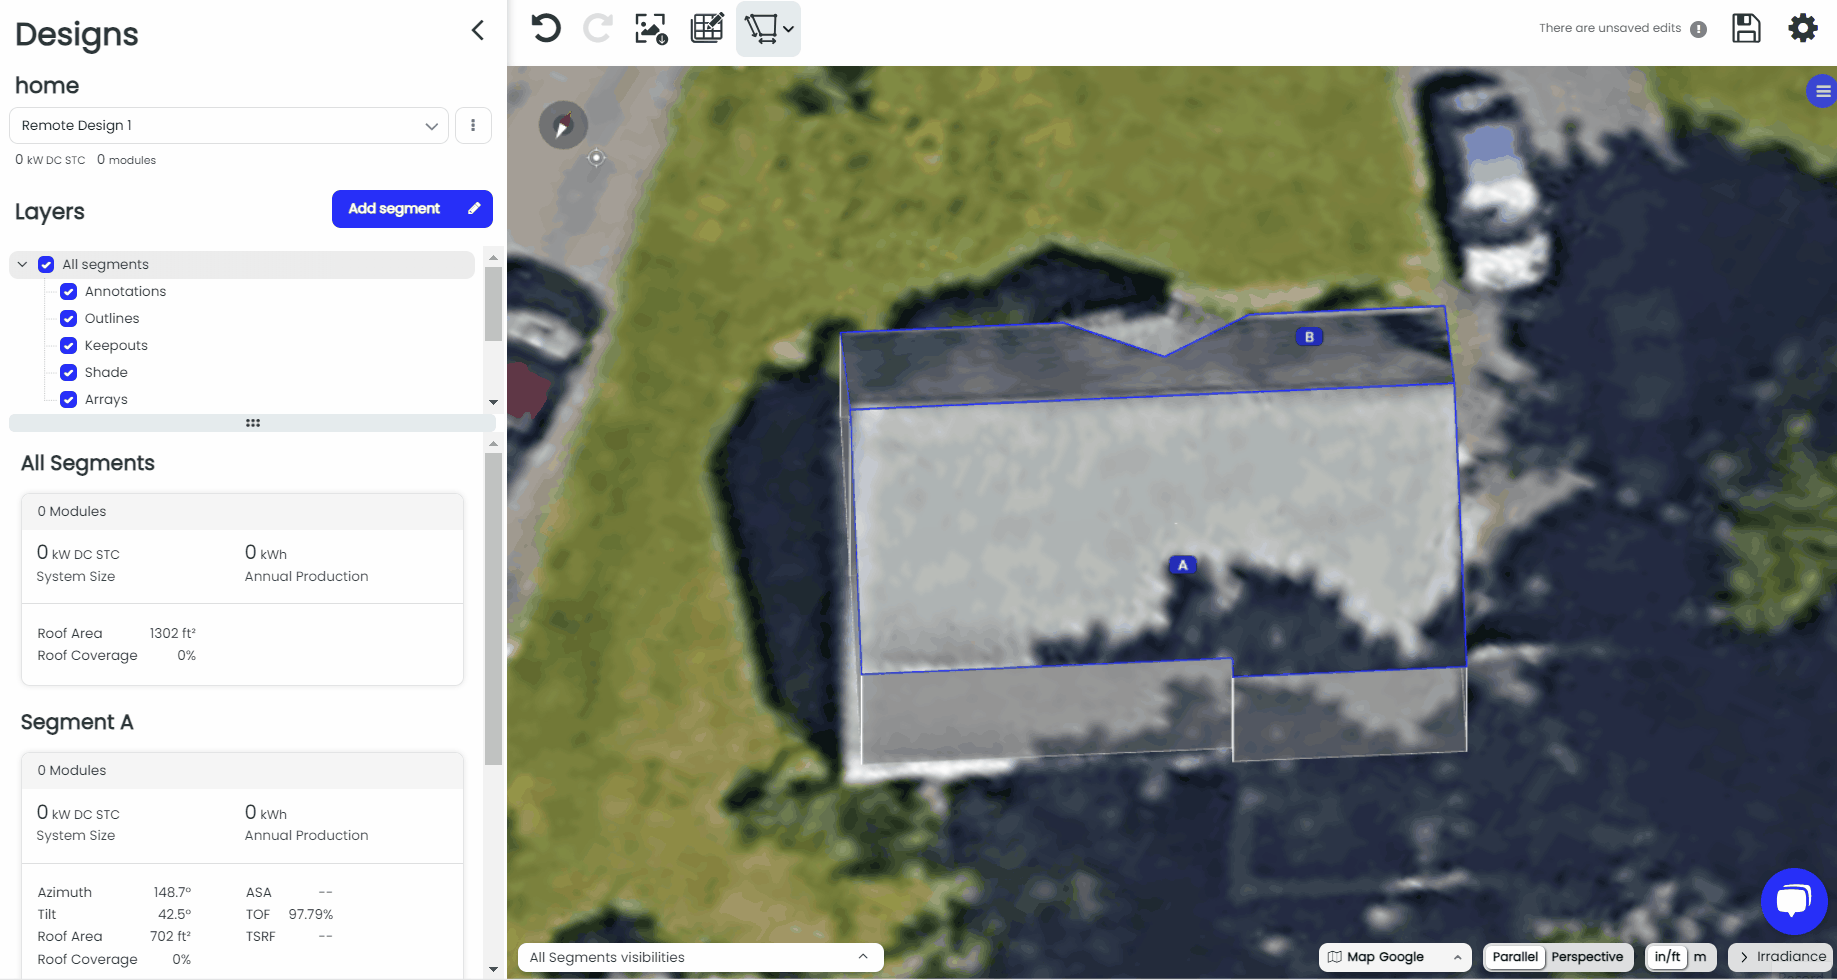
Add Segments
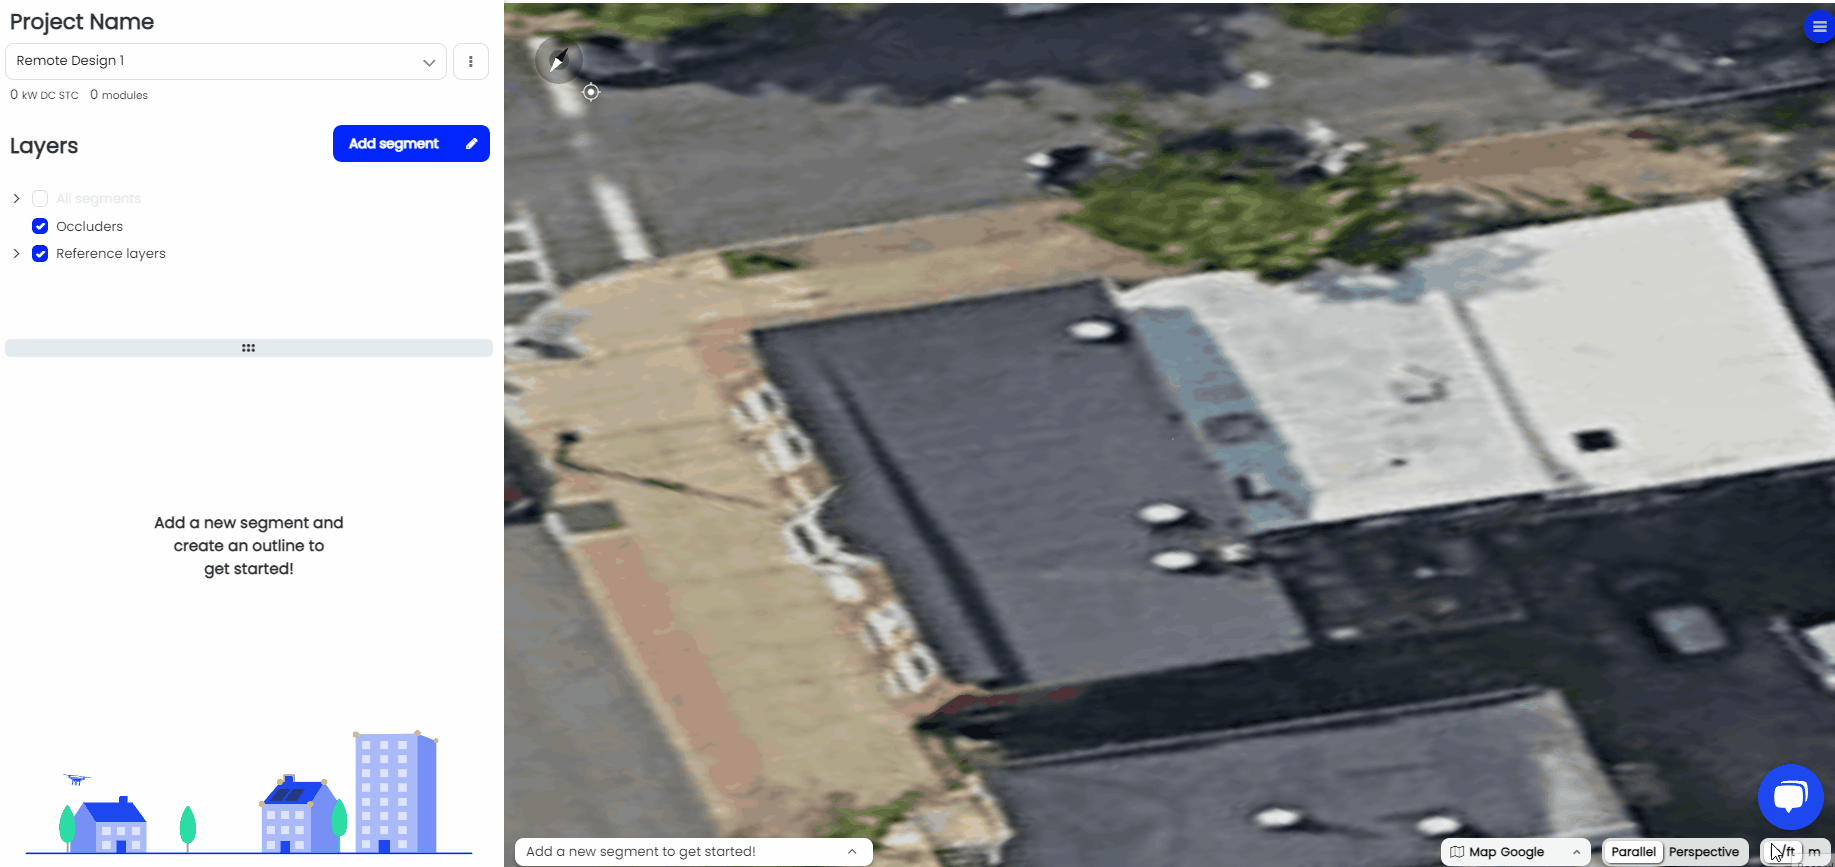
- Click on the blue "Add segment" button.
- Left click to outline the roof segment on the map image.
- Adjust the height by dragging the blue arrow over the segment and pressing Enter when the correct height is reached
- Then, select the higher side of the roof segment and drag the blue arrow until the roof has the correct pitch and press enter.
- The segment should now have the correct height and pitch, which can be confirmed by referencing the LiDAR layer.
- For more information on Segment creation, please see this support article: https://help.scanifly.com/creating-outlines-for-remote-design
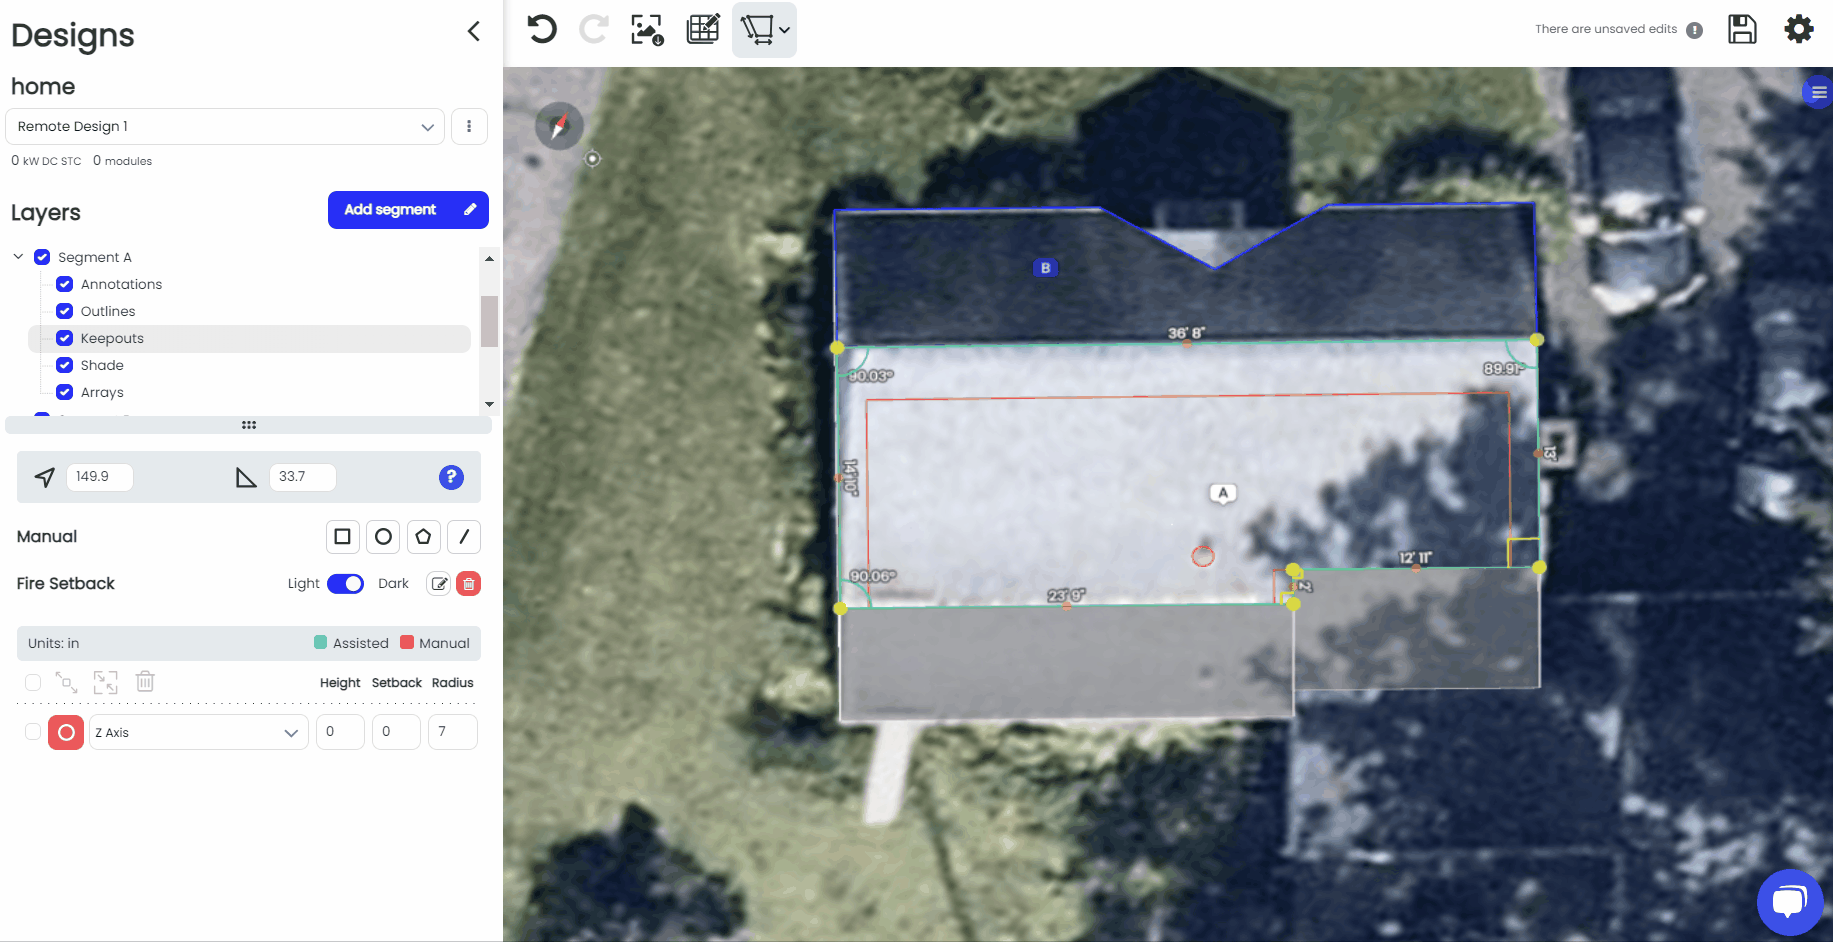
Add Keepouts
- For any specific segment, open up it's dropdown menu and click on the "Keepouts" section.
- From here you can add keepout areas for any roof obstructions, as well as fire setbacks for each side of the segment.
- For more information on adding keepouts, please see this support article: https://help.scanifly.com/creating-keepouts
Toggle on the Irradiance Map Layer
- Assess solar potential of the scene by toggling on the Irradiance map layer to visualize the ASA or TSRF of all of the segment outlines in the scene.
- Navigate to the irradiance map layer by toggling on the selection from the lower right corner of the Scanifly window.
- The first time you load this layer, wait for it to calculate for a moment.
- Once the irradiance map is calculated, you can visualize which roofs have the most solar potential, based on their appearance, or by hovering your mouse over the roof surfaces and looking at the numbers within the key on the bottom right.
- For more information on the Irradiance map layer, please see this support article: https://help.scanifly.com/irradiance-map
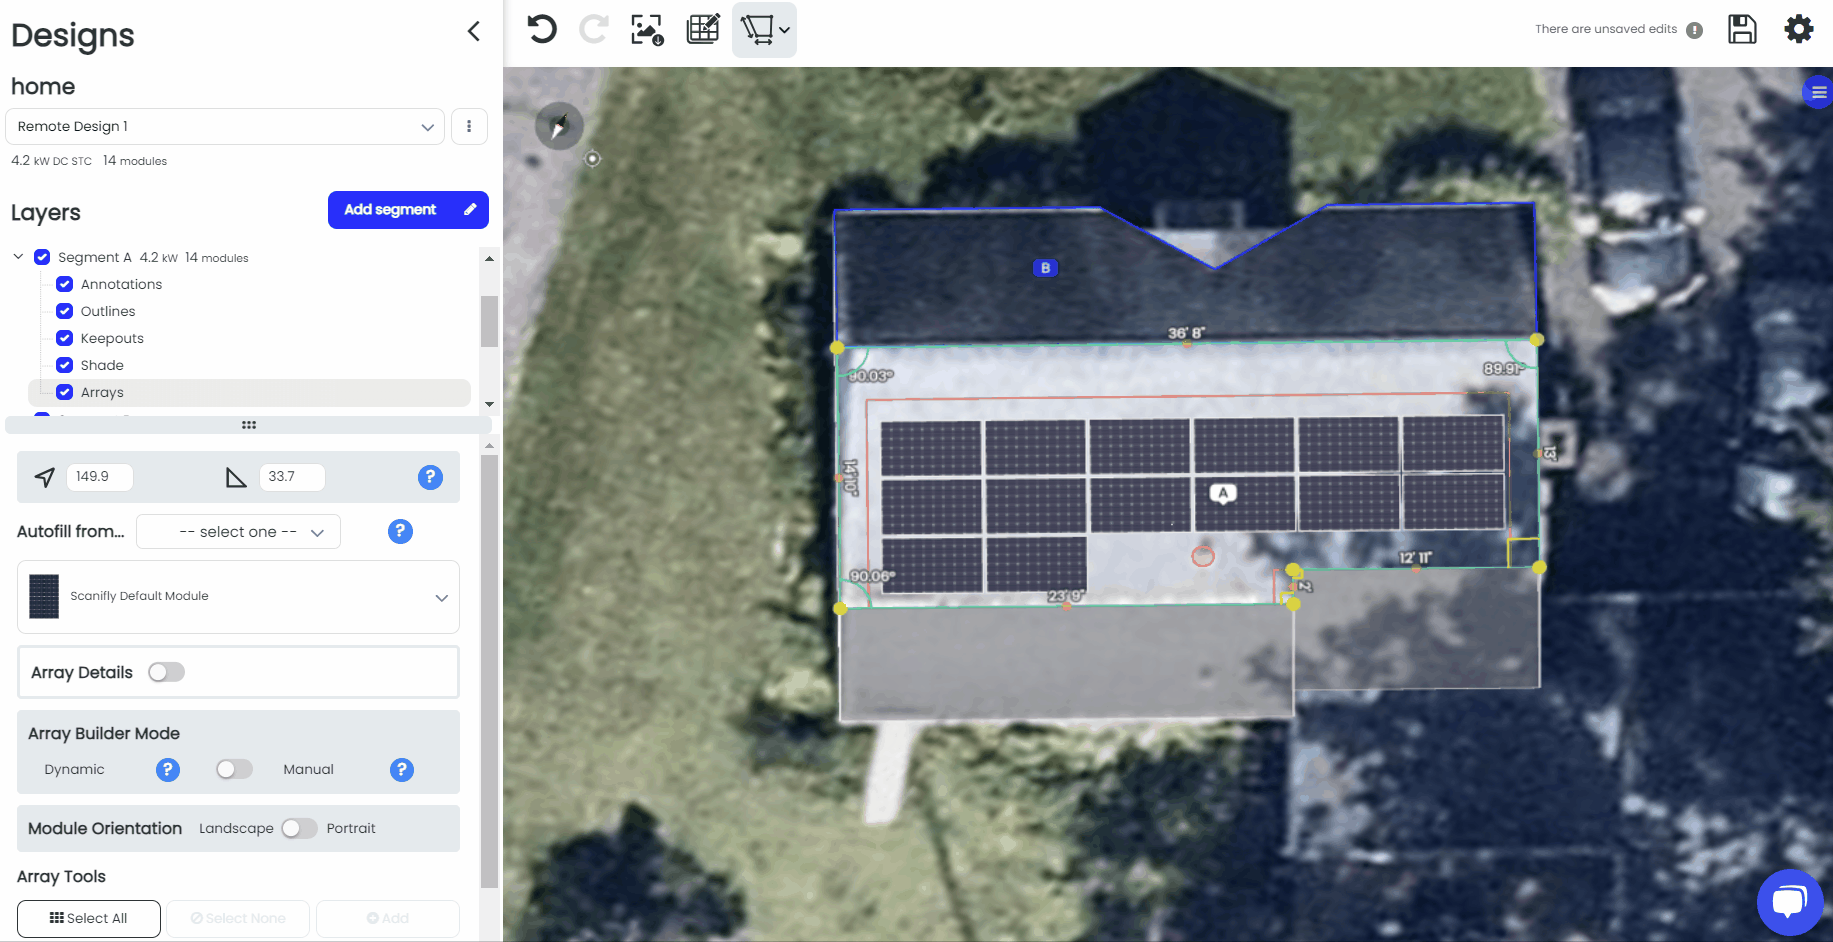
Add Solar Modules
- While in the menu for the segment you wish to add modules to, click on the "Arrays" section.
- Select the type of Module that you want to use.
- Click on the "Fill Modules" button, and adjust the array as needed.
- For more information about Adding solar modules and creating arrays, please see this support article: https://help.scanifly.com/creating-arrays
Add Viewsheds
- Click on the "Shade" menu to add viewsheds to the scene as you see fit.
- EX: Shade > Automatic > Per Module > Generate - this will generate 1 viewshed per module that you have already placed in the scene.
- For more information on adding viewsheds, please see this support article: https://help.scanifly.com/generating-solar-access-viewsheds
Before adding modules you can evaluate the potential surfaces for TSRF or ASA by using the "whole roof" viewshed option. Just be-ware that if you add these viewsheds while there are modules on the roof surface, the viewsheds can be shaded by the modules.
Congratulations! You just completed your first Prelim Design!
- You can now export or share your project
- If you have any additional questions please reach out to hello@scanifly.com or use the chat in the lower right corner of the Scanifly portal