Accessing the Tree Layer and Adding Trees
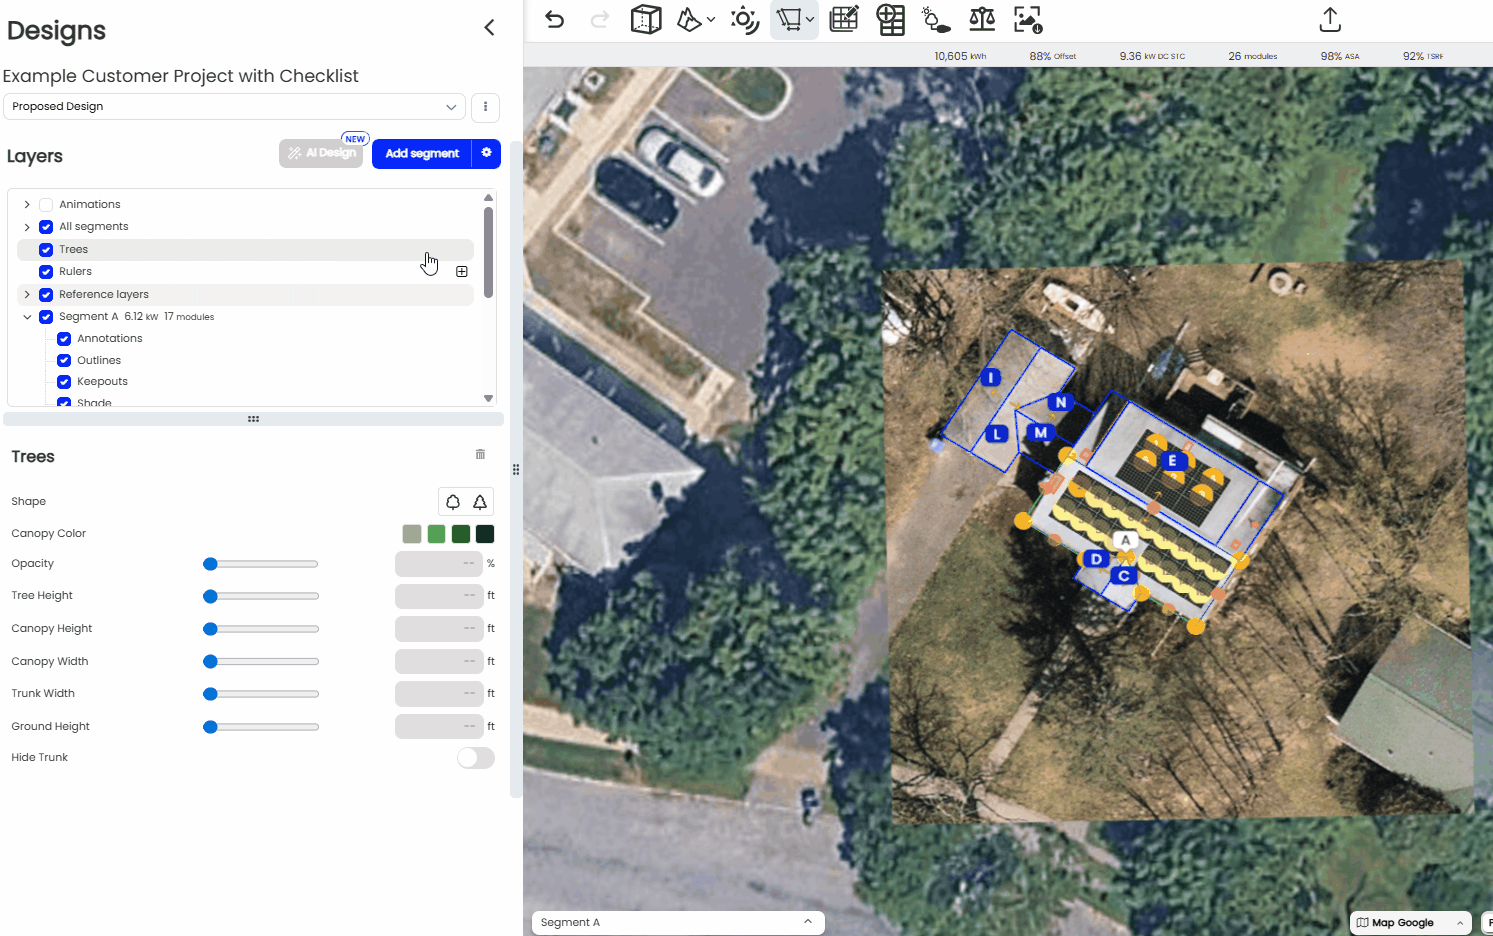
To get started, you'll first need to access the Tree Layer from the main menu.
-
Open the Layer Menu: Navigate to and click on the "Layer" menu.
-
Select "Trees": From the dropdown, select the "Trees" option.
-
Add a Tree: You can add a tree in two ways:
-
Click the plus icon (+) next to the Trees layer.
-
Use the keyboard shortcut by pressing the 'T' key.
-
Once in tree-planting mode, you will see a green dot on your map. This indicates where your tree will be placed.
-
To Plant a Tree: Click and drag with your left mouse button to place a tree on the map. You can continue to click and drag to plant multiple trees.
-
To Exit Planting Mode: Press the 'Esc' key on your keyboard.
Customizing Individual Trees

For more detailed adjustments, you can select and edit a single tree.
-
Select a Tree: Simply click on any individual tree to select it.
-
Open the Edit Menu: Once a tree is selected, you can either adjust it from the menu that appears on the left or by interacting with the tree directly.
From the menu, you can customize the following parameters:
-
Tree Type: Change the species of the tree.
-
Canopy Color: Adjust the color of the leaves.
-
Opacity: Make the tree more or less transparent.
-
Height: Set a specific height for the tree.
-
Canopy Width: Adjust the width of the tree's canopy.
-
Trunk Width: Change the thickness of the trunk.
-
Ground Height: Adjust the tree's vertical position relative to the ground.
-
Remove Trunk: You can toggle the trunk off to have a floating canopy.
Selecting and Editing Multiple Trees

You can easily select and edit multiple trees at once to save time.
-
Select Multiple Trees: Click and hold your left mouse button and drag to draw a selection box around the trees you wish to edit.
-
Move Trees: With multiple trees selected, press the 'M' key to move them all at once.
-
Adjust Height: Click and drag the arrow that appears above the selected trees to increase or decrease their height simultaneously.
- Math Functions available: When selecting multiple trees, you can click into the height fields and add +, -, /, or * to augment all of the trees in a similar manner.
- For example, if you have 3 different sized trees highlighted, showing a "Mixed" height, and you want to showcase the height of the trees in a few years, you can click into the field and edit it to say "Mixed + 5 to add 5 feet of height to all of the trees highlighted.
-
Copy and Paste: You can copy and paste trees using standard keyboard shortcuts (Ctrl+C and Ctrl+V or Cmd+C and Cmd+V).
-
Cut and Paste: Similarly, you can cut and paste trees (Ctrl+X and Ctrl+V or Cmd+X and Cmd+V).
Using the 'Fit to 3D' Method for Automatic Tree Sizing
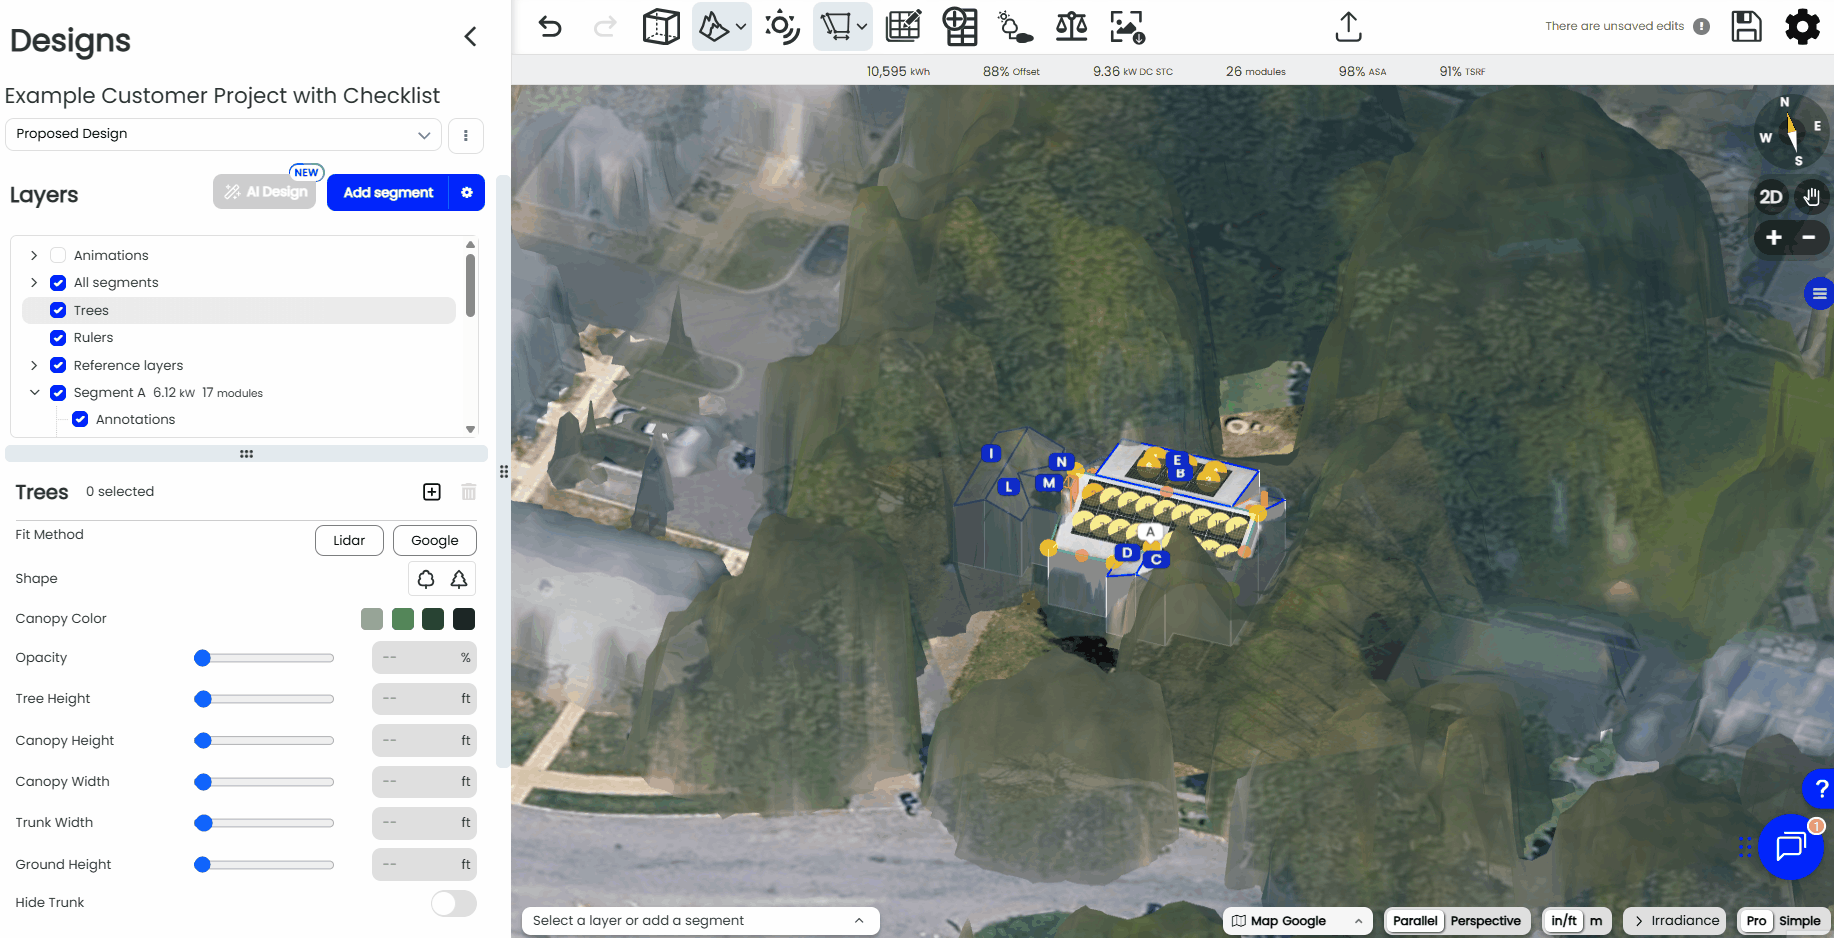
Important: Before using this feature, you must align your LiDAR or Google 3D layer first. For more information on adjusting reference layers please see our article here: https://help.scanifly.com/reference-layers
- Activate 'Fit to' Mode: In the Trees menu, click the toggle button for Google 3D or LiDAR. The button will turn blue, indicating that the mode is active and ready to use.
- Place the Tree: With the mode active, move your cursor to the desired location and press the 'T' key. The tree will automatically be placed with its height perfectly matching the underlying 3D data at that spot—no manual adjustment needed.
- Pro Tip: For a clearer view while placing trees, you can hide the Google 3D/LiDAR layer. The "Fit to 3D" setting will still work in the background. Simply make the layer visible again to check your work.