Having proper photo exposure is key to taking good photos for Scanifly 3D reconstruction
Overexposure can cause issues in reconstruction
In order to have proper 3D model reconstruction in Scanifly, the photos uploaded must not contain any "do not upload" photos. This includes, but is not limited to overexposed photos.
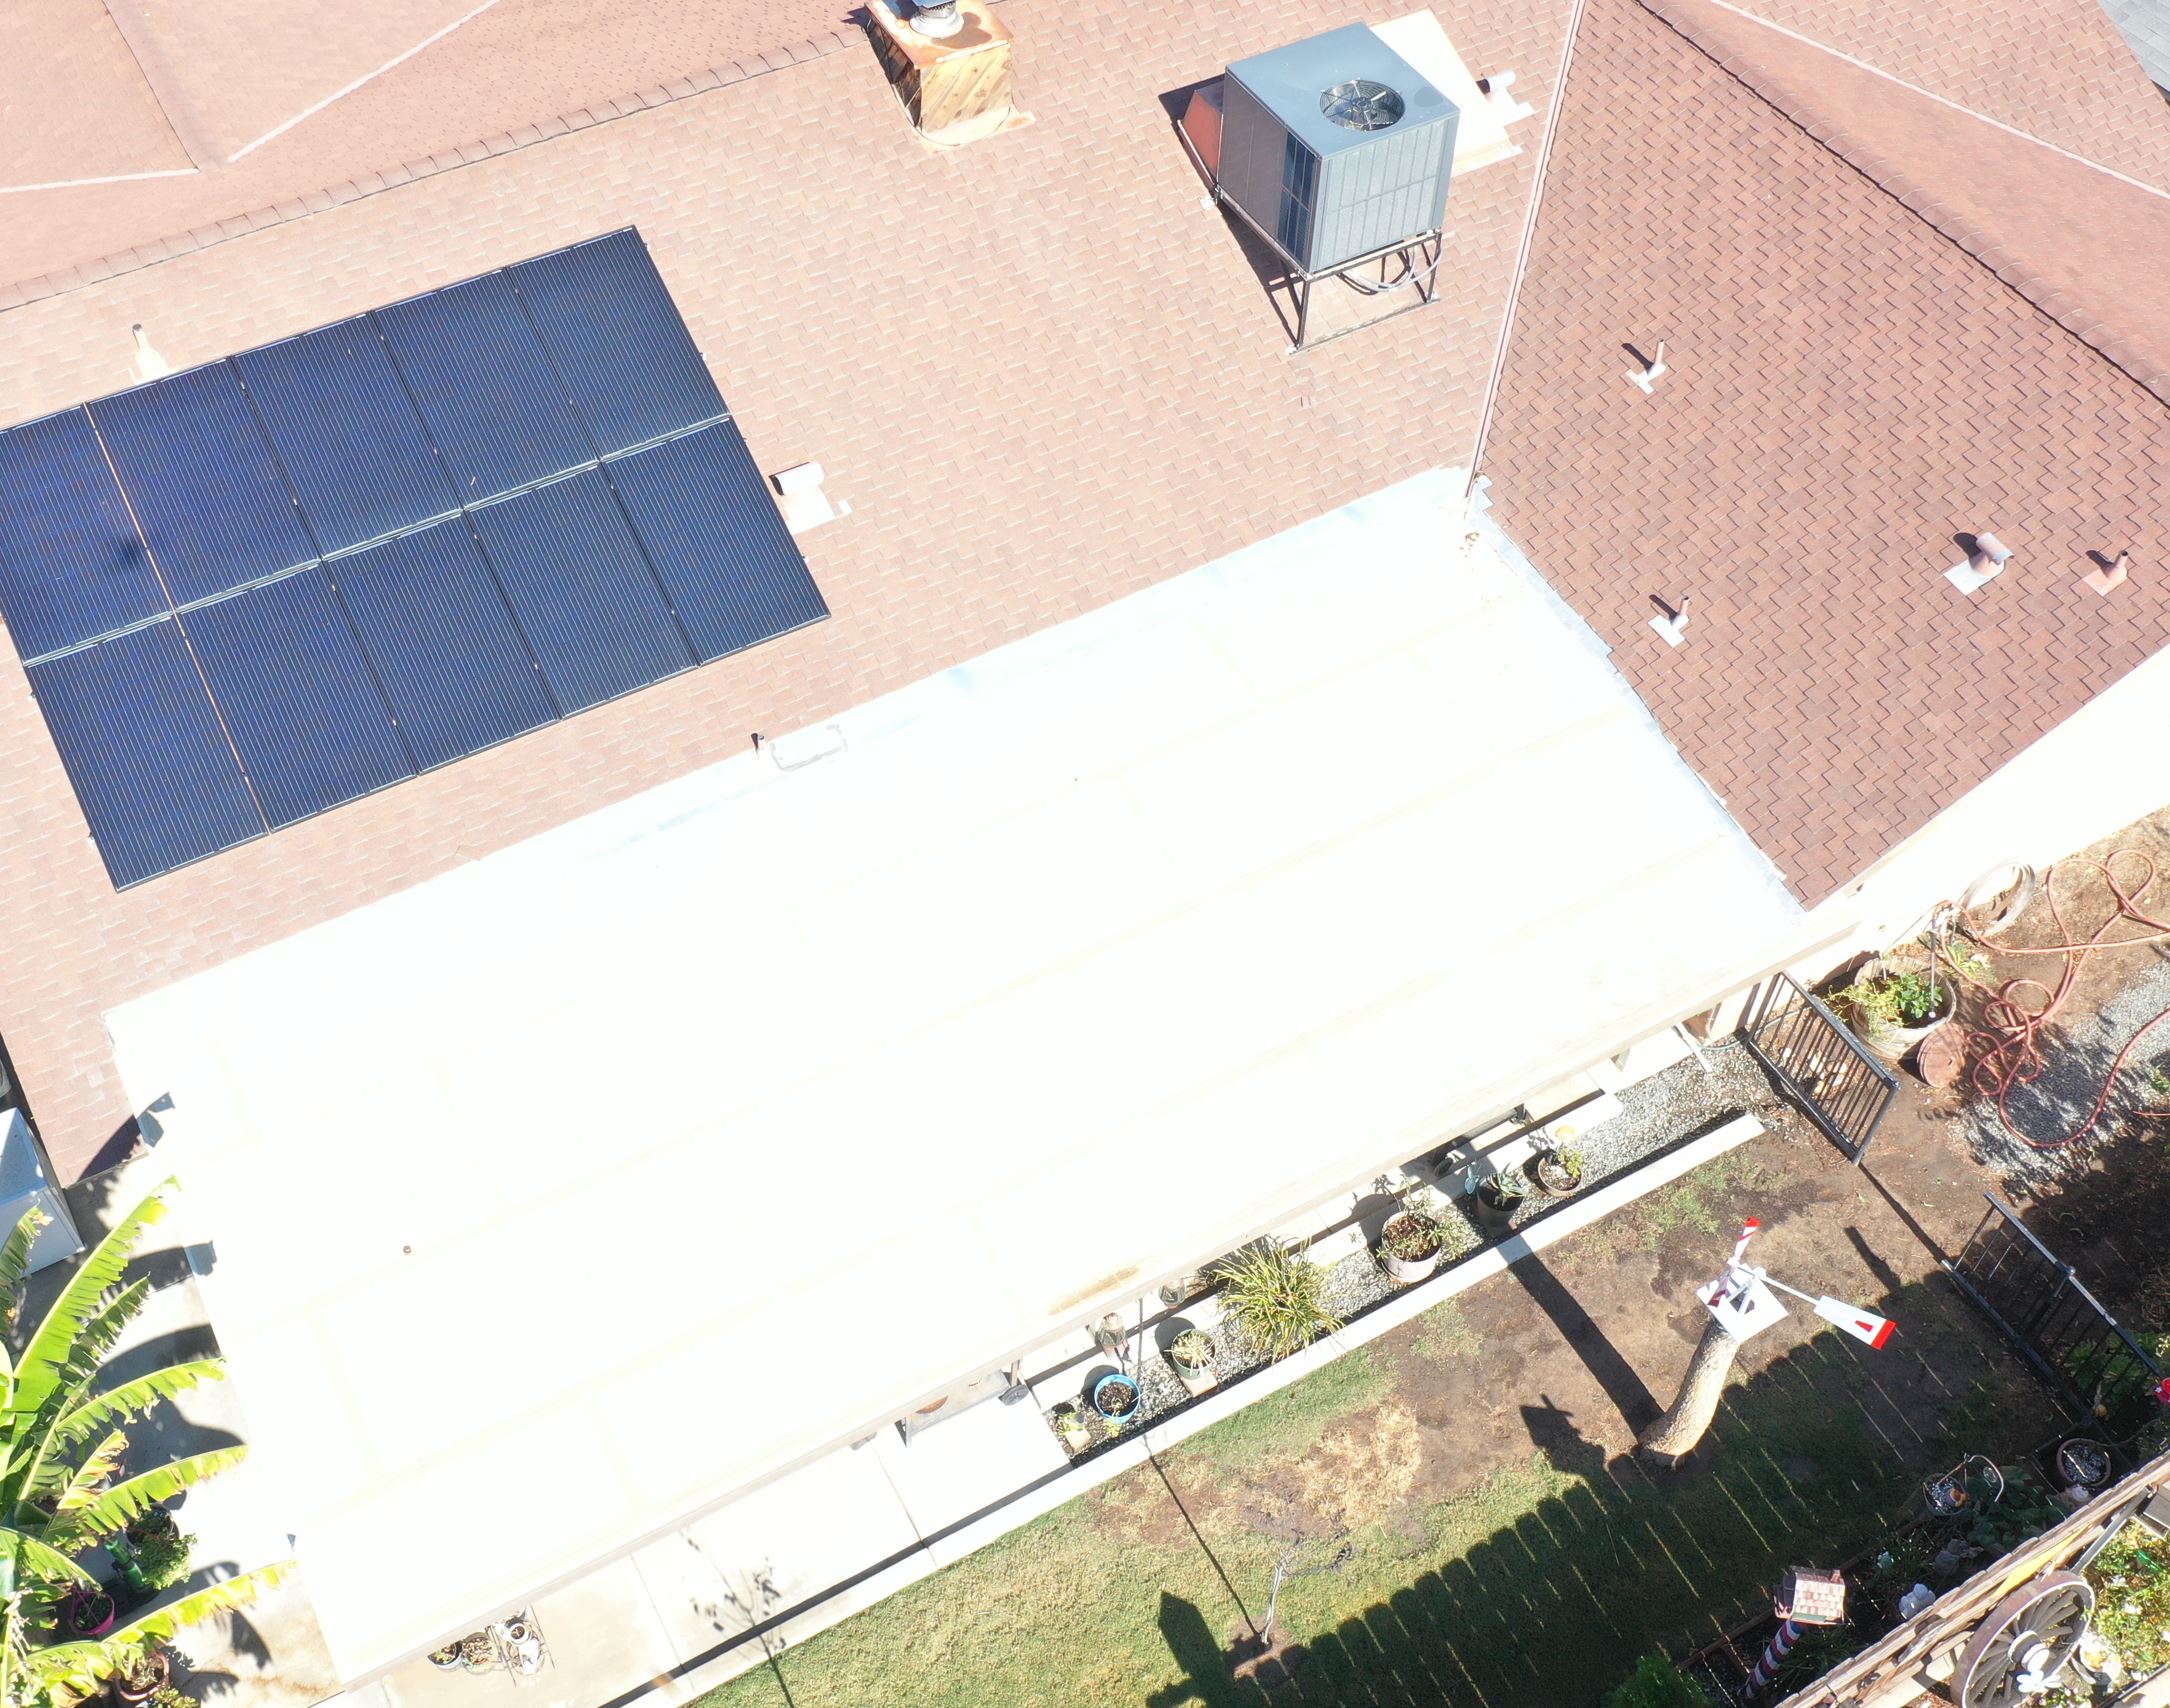
Overly exposed image example:
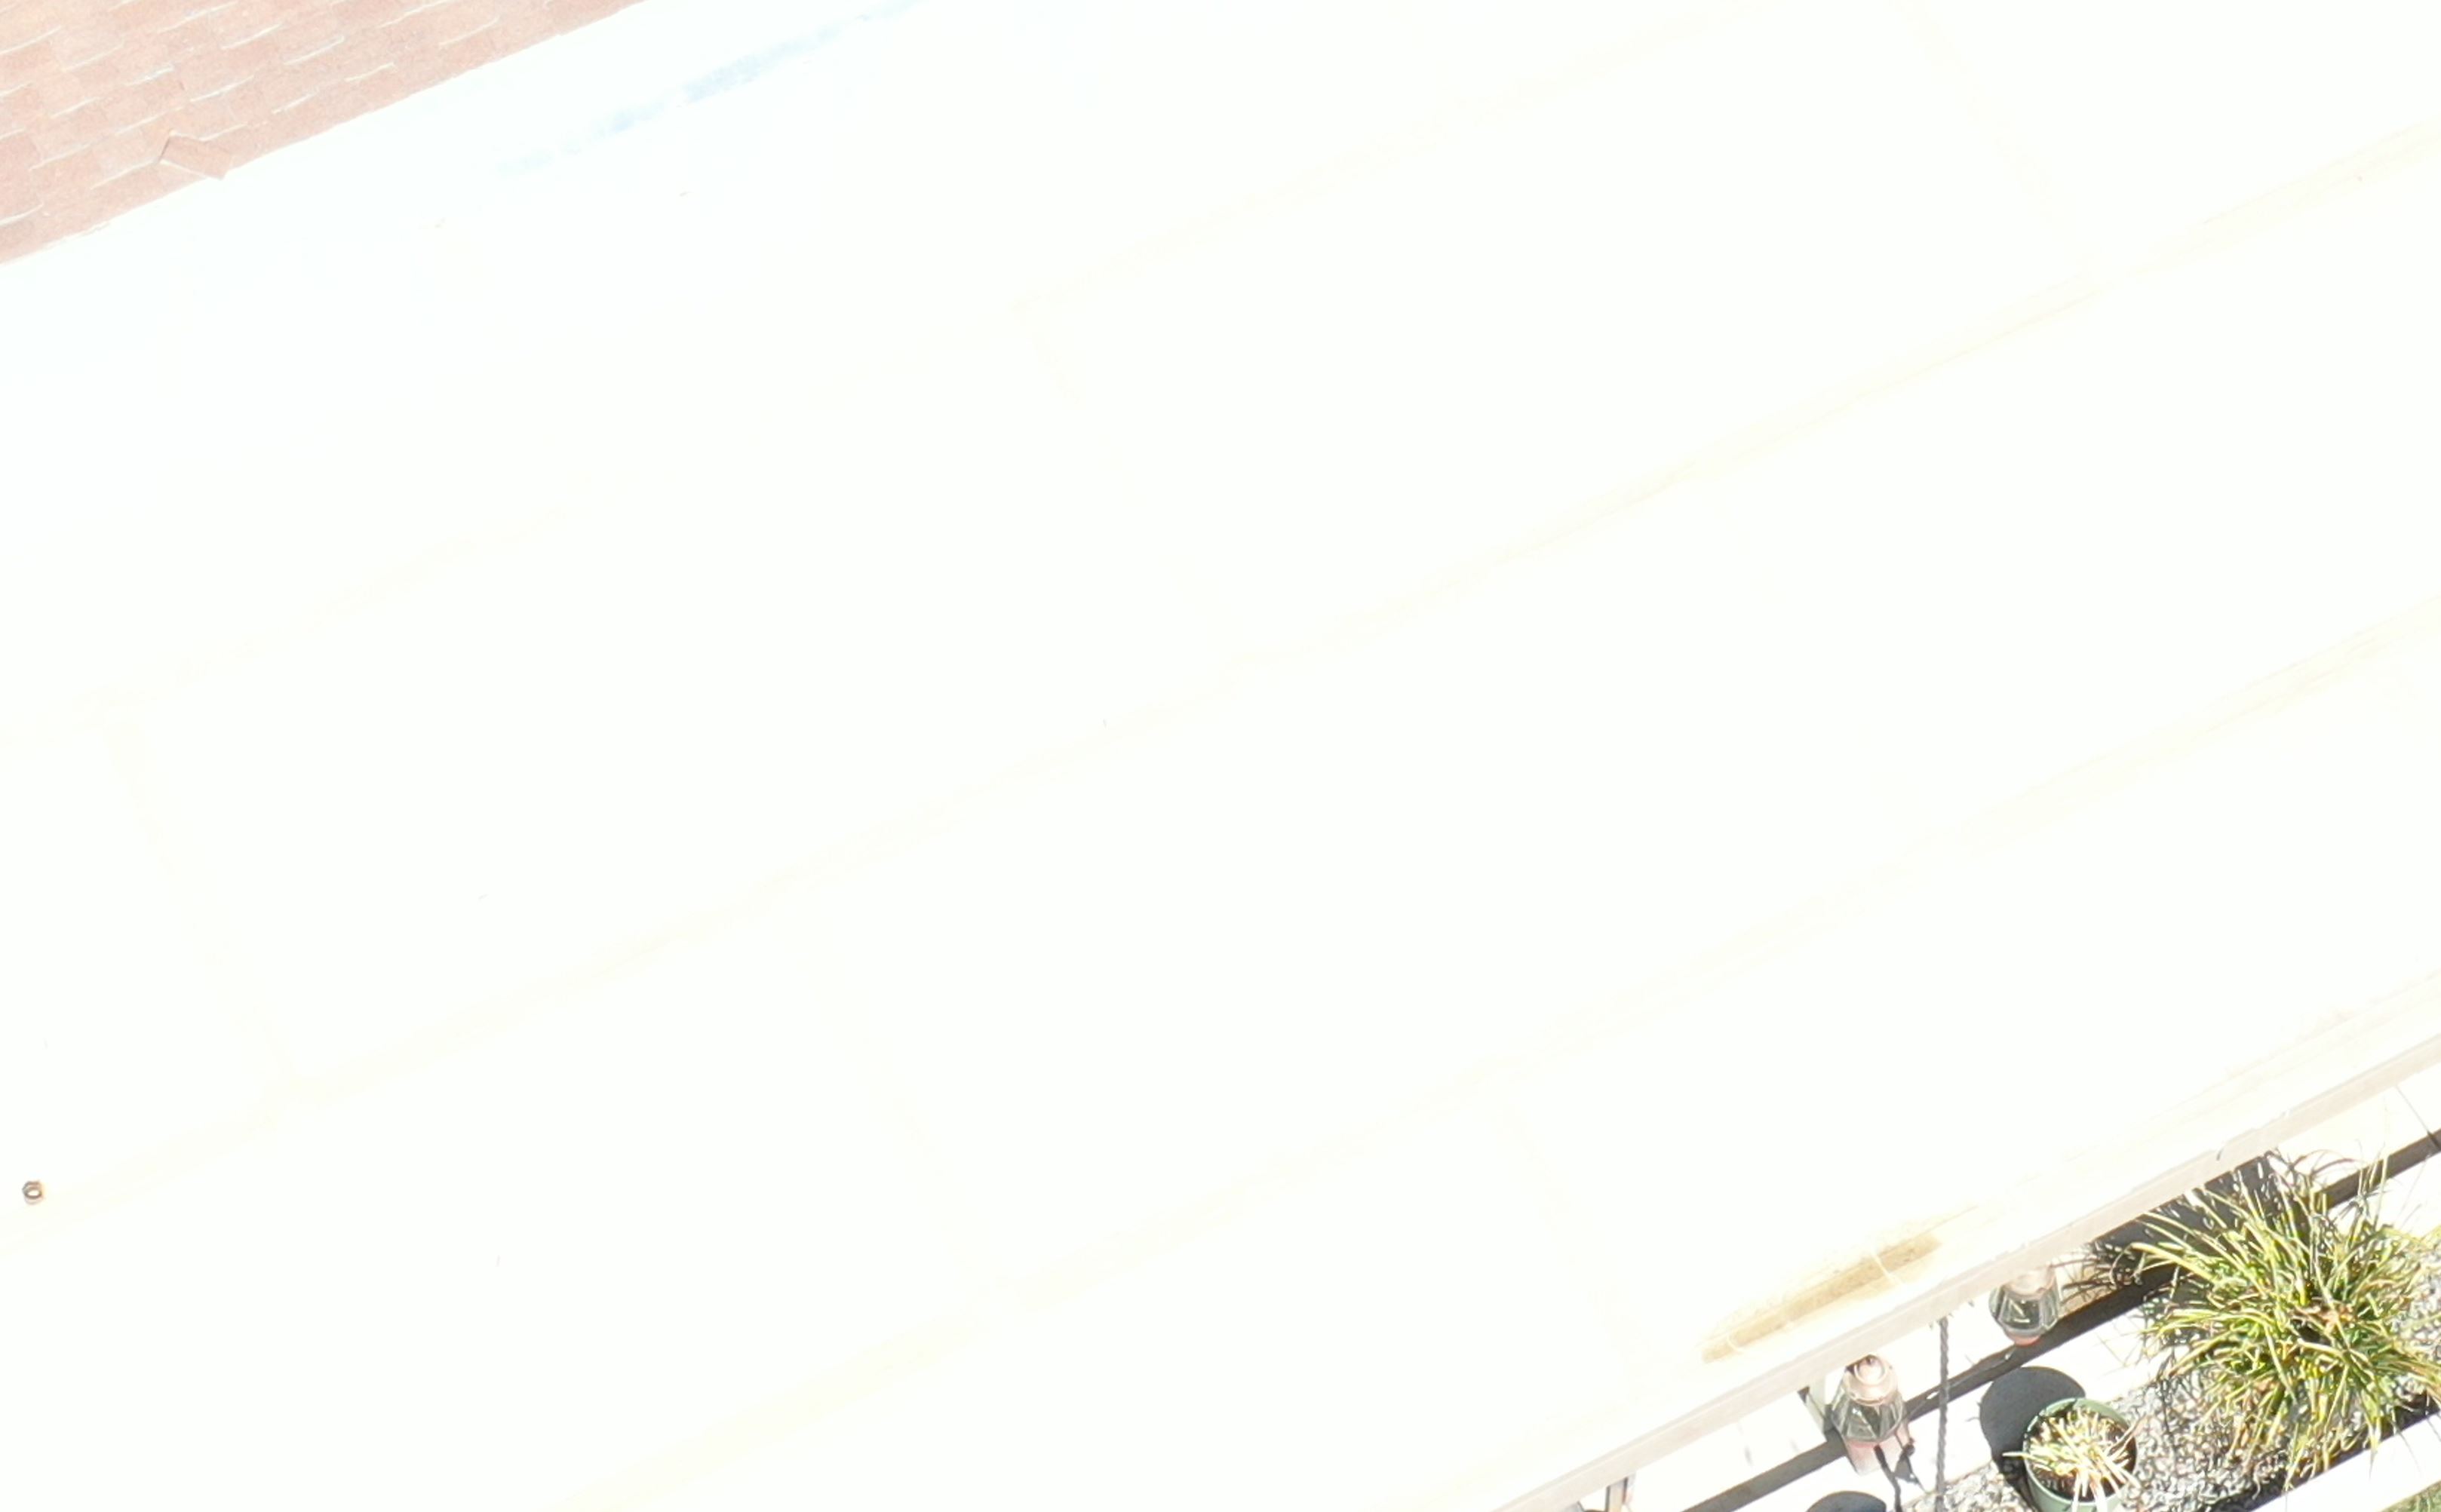
If you zoom into the photo like this, you can see that there is little to no detail left in the photo due to the overexposure. When a photo is overexposed to this level, there is no pixel detail left to use for reconstruction. It may as well have a giant hole in it!
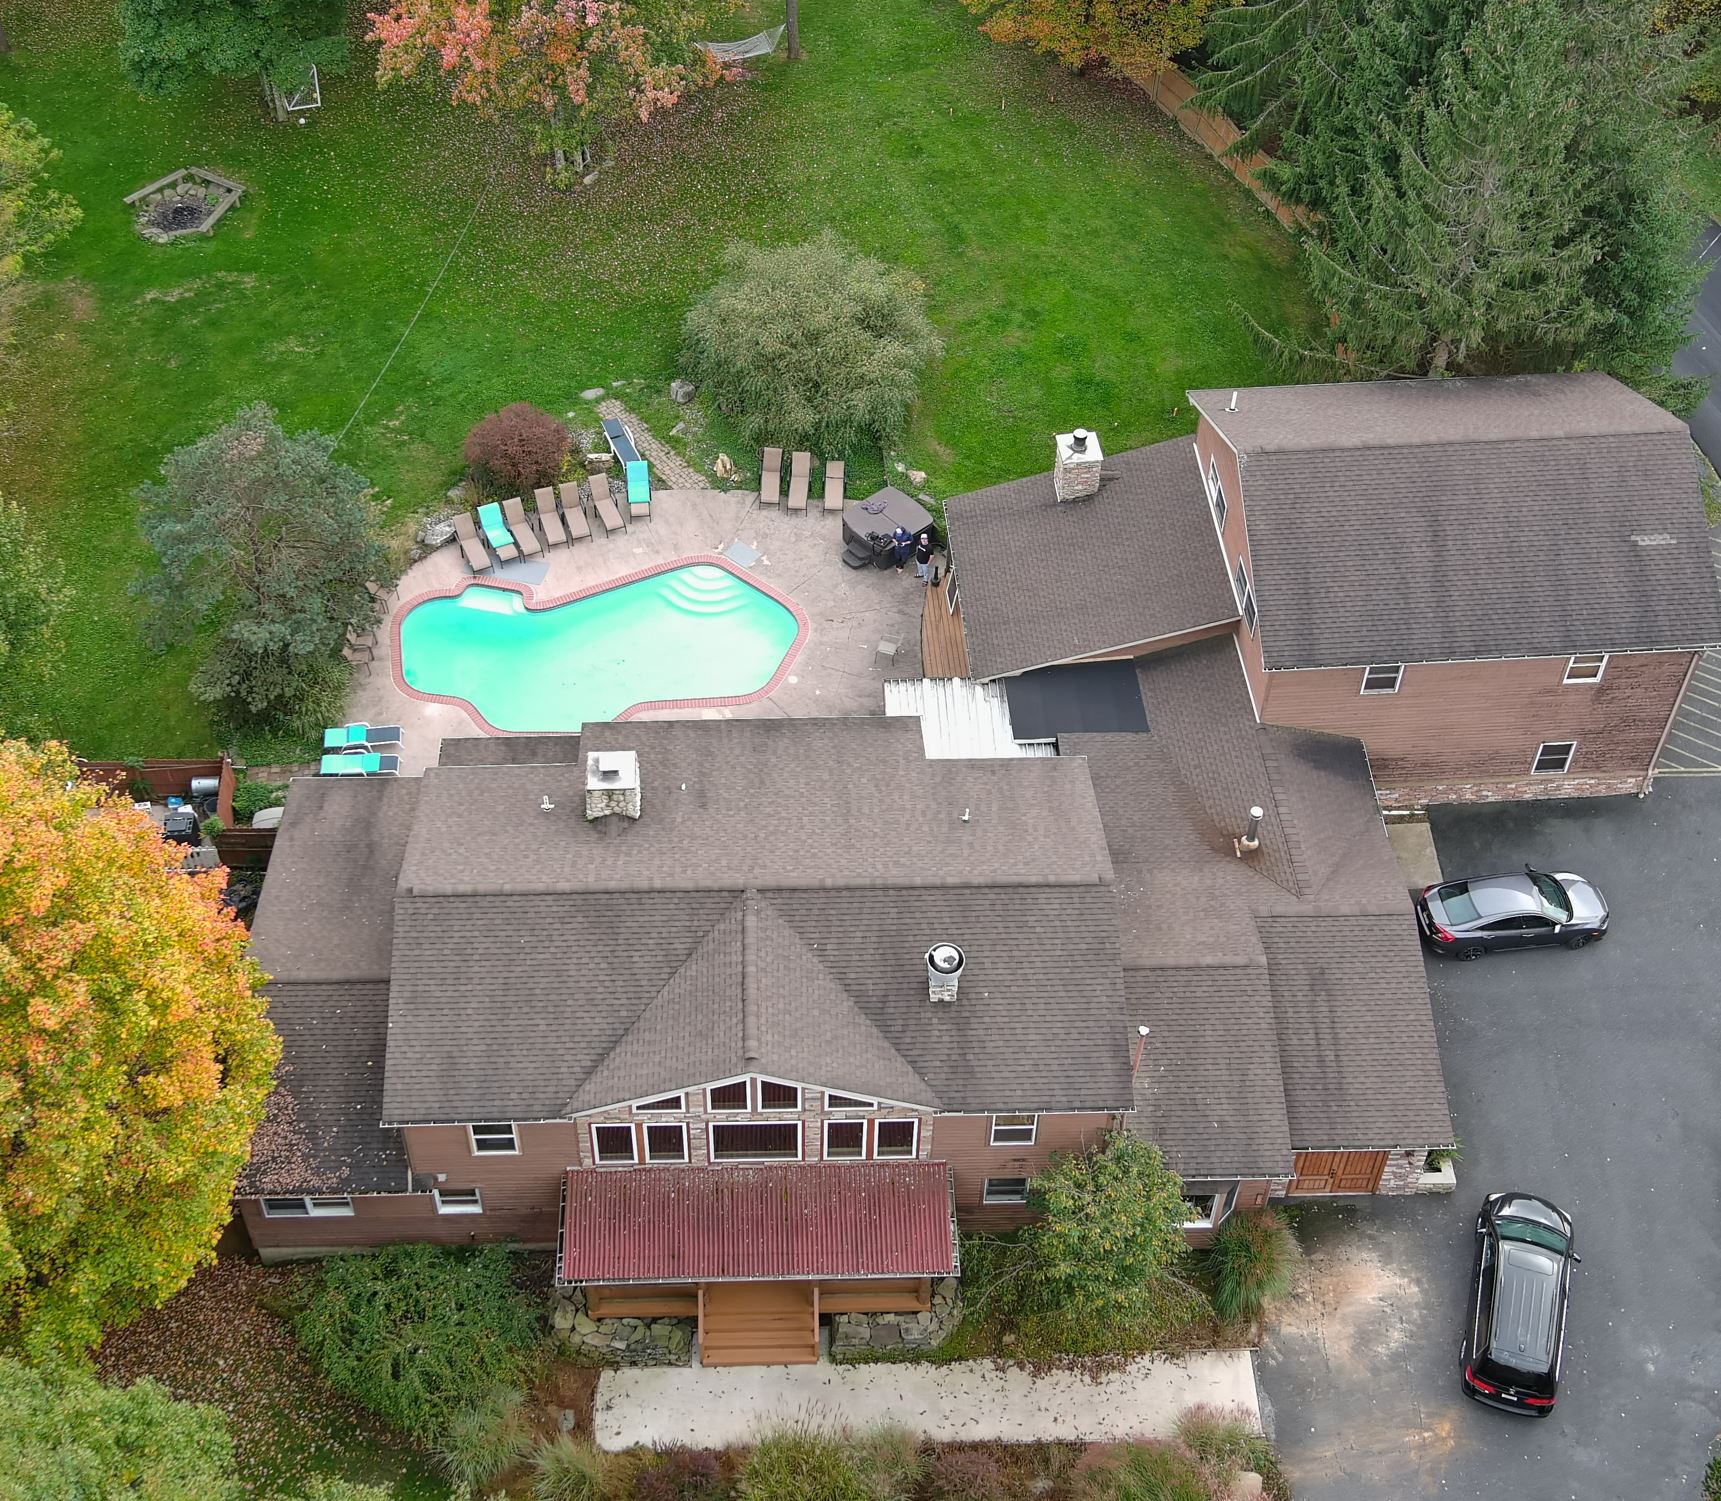
Properly exposed image example:
Here is an example of a **properly exposed drone photo.** Notice how there is no part of the image that is too bright or dark to be used for reconstruction? That is how you can tell this photo is properly exposed and suitable for Scanifly 3D reconstruction.
The difference between an over-exposed or properly exposed photo is fairly easy to tell once you know what to look for. Now let's discuss some settings to make sure you get photos like this every time you fly!
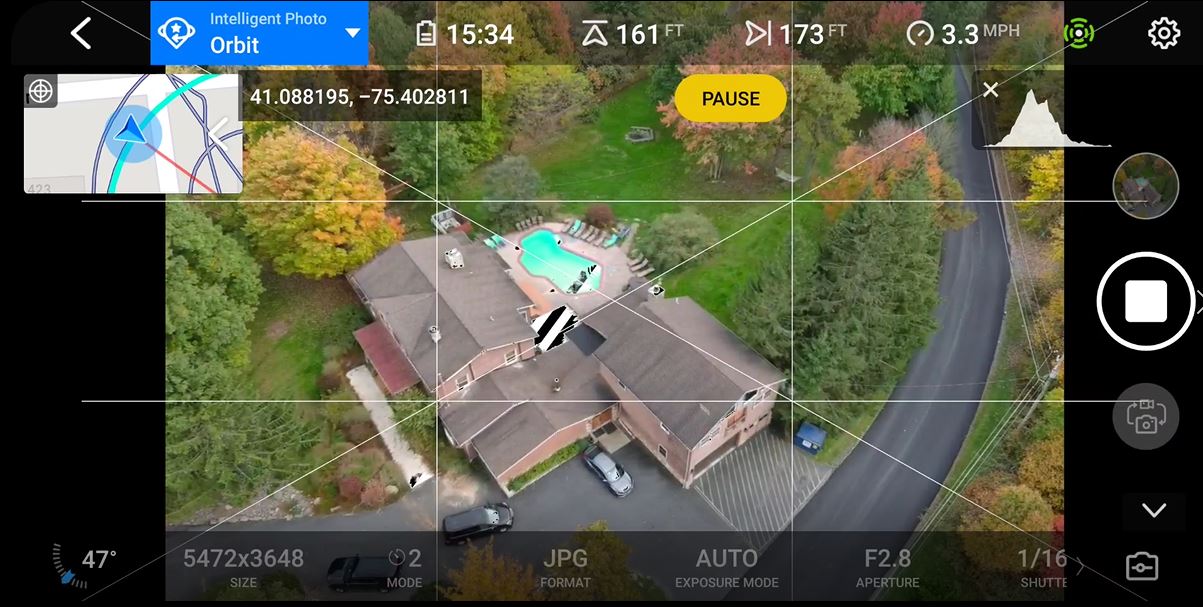
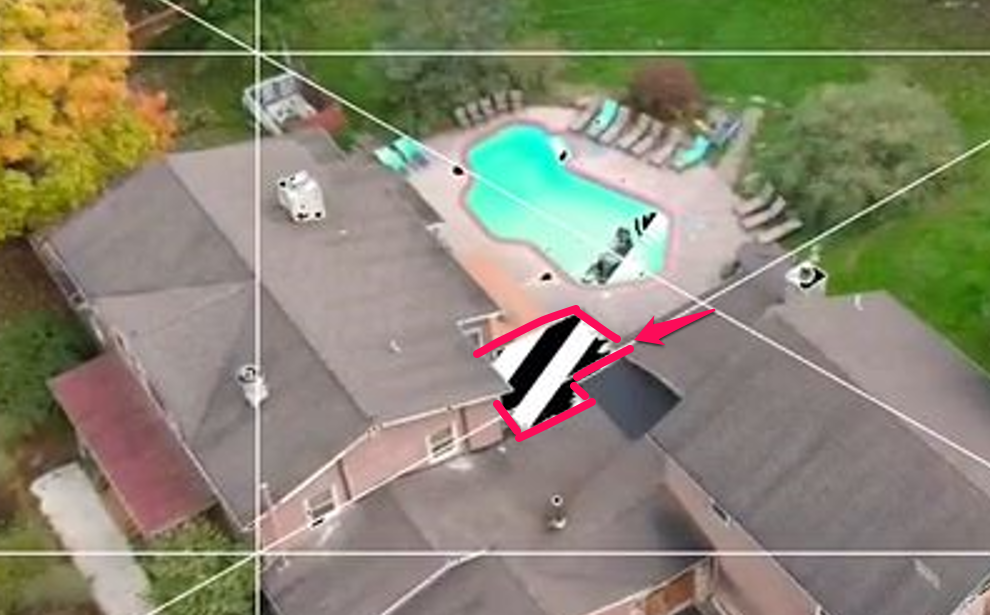
Overexposure Warning
Fortunately for us pilots, there is typically a feature that you can turn on while shooting drone photos to ensure that you do not have over-exposed photos. Overexposure warning is a feature that DJI, Autel and Skydio (and other major manufacturers) have on their drones to give a visual overlay in the application to show where there is overexposure potential.
If you have a drone with a variable aperture:
If you notice the overexposure warning stripes appearing, follow these steps:
Option 1:
- Keep camera settings set to automatic
- adjust the EV setting lower and lower until overexposure warning strips disappear
Option 2:
- Go into the manual camera settings instead of automatic
- Keep the autofocus and white balance settings to automatic
- Adjust the ISO to 100
- Adjust the shutter speed to 1/320
- Adjust your aperture until the image is darker/more properly exposed and the zebra striping goes away. Increase the number on your aperture setting until the image is dark enough. If you get to the highest aperture number and it is still to bright, then increase your shutter speed to a faster shutter speed until the image is properly exposed
If you have a drone without a variable aperture:
If you notice the overexposure warning stripes appearing, follow these steps:
Option 1:
- Keep camera settings set to automatic
- adjust the EV setting lower and lower until overexposure warning strips disappear
Option 2:
- Go into the manual camera settings instead of automatic
- Keep the autofocus and white balance settings to automatic
- Adjust the ISO to 100
- Adjust your shutter speed to a higher and higher number (1/320,1/400,1/500,1/600, etc..) until the overexposure warning visual goes away in most of the scene
What if I cant get the balance right?
If you have a very dynamic scene with some very dark spots and some very bright spots and you can not seem to find the balance, err on the side of too dark than too bright. Typically a washed out image is unrecoverable but an image that is "too dark" is usually full of detail for the software. But ideally you want to avoid both if possible
Do you need ND Filters to avoid overexposure?
Please see our page on Should I use an ND filter when capturing photos for Scanifly?
The short answer is NO. Typically, you do not need an ND filter to get good results.